
Organize Top-Level Screens with SwiftUI Tabs
Organize Top-Level Screens with SwiftUI Tabs
Explore, Saved and Settings are peer destinations in a travel app. They should be selectable without pushing one beneath another. Use a typed tab selection and give each destination its own clear navigation context.
You will learn: Distinguish tabs from navigation depth; bind selection to an enum; use matching Tab values; switch selection from an in-app action.
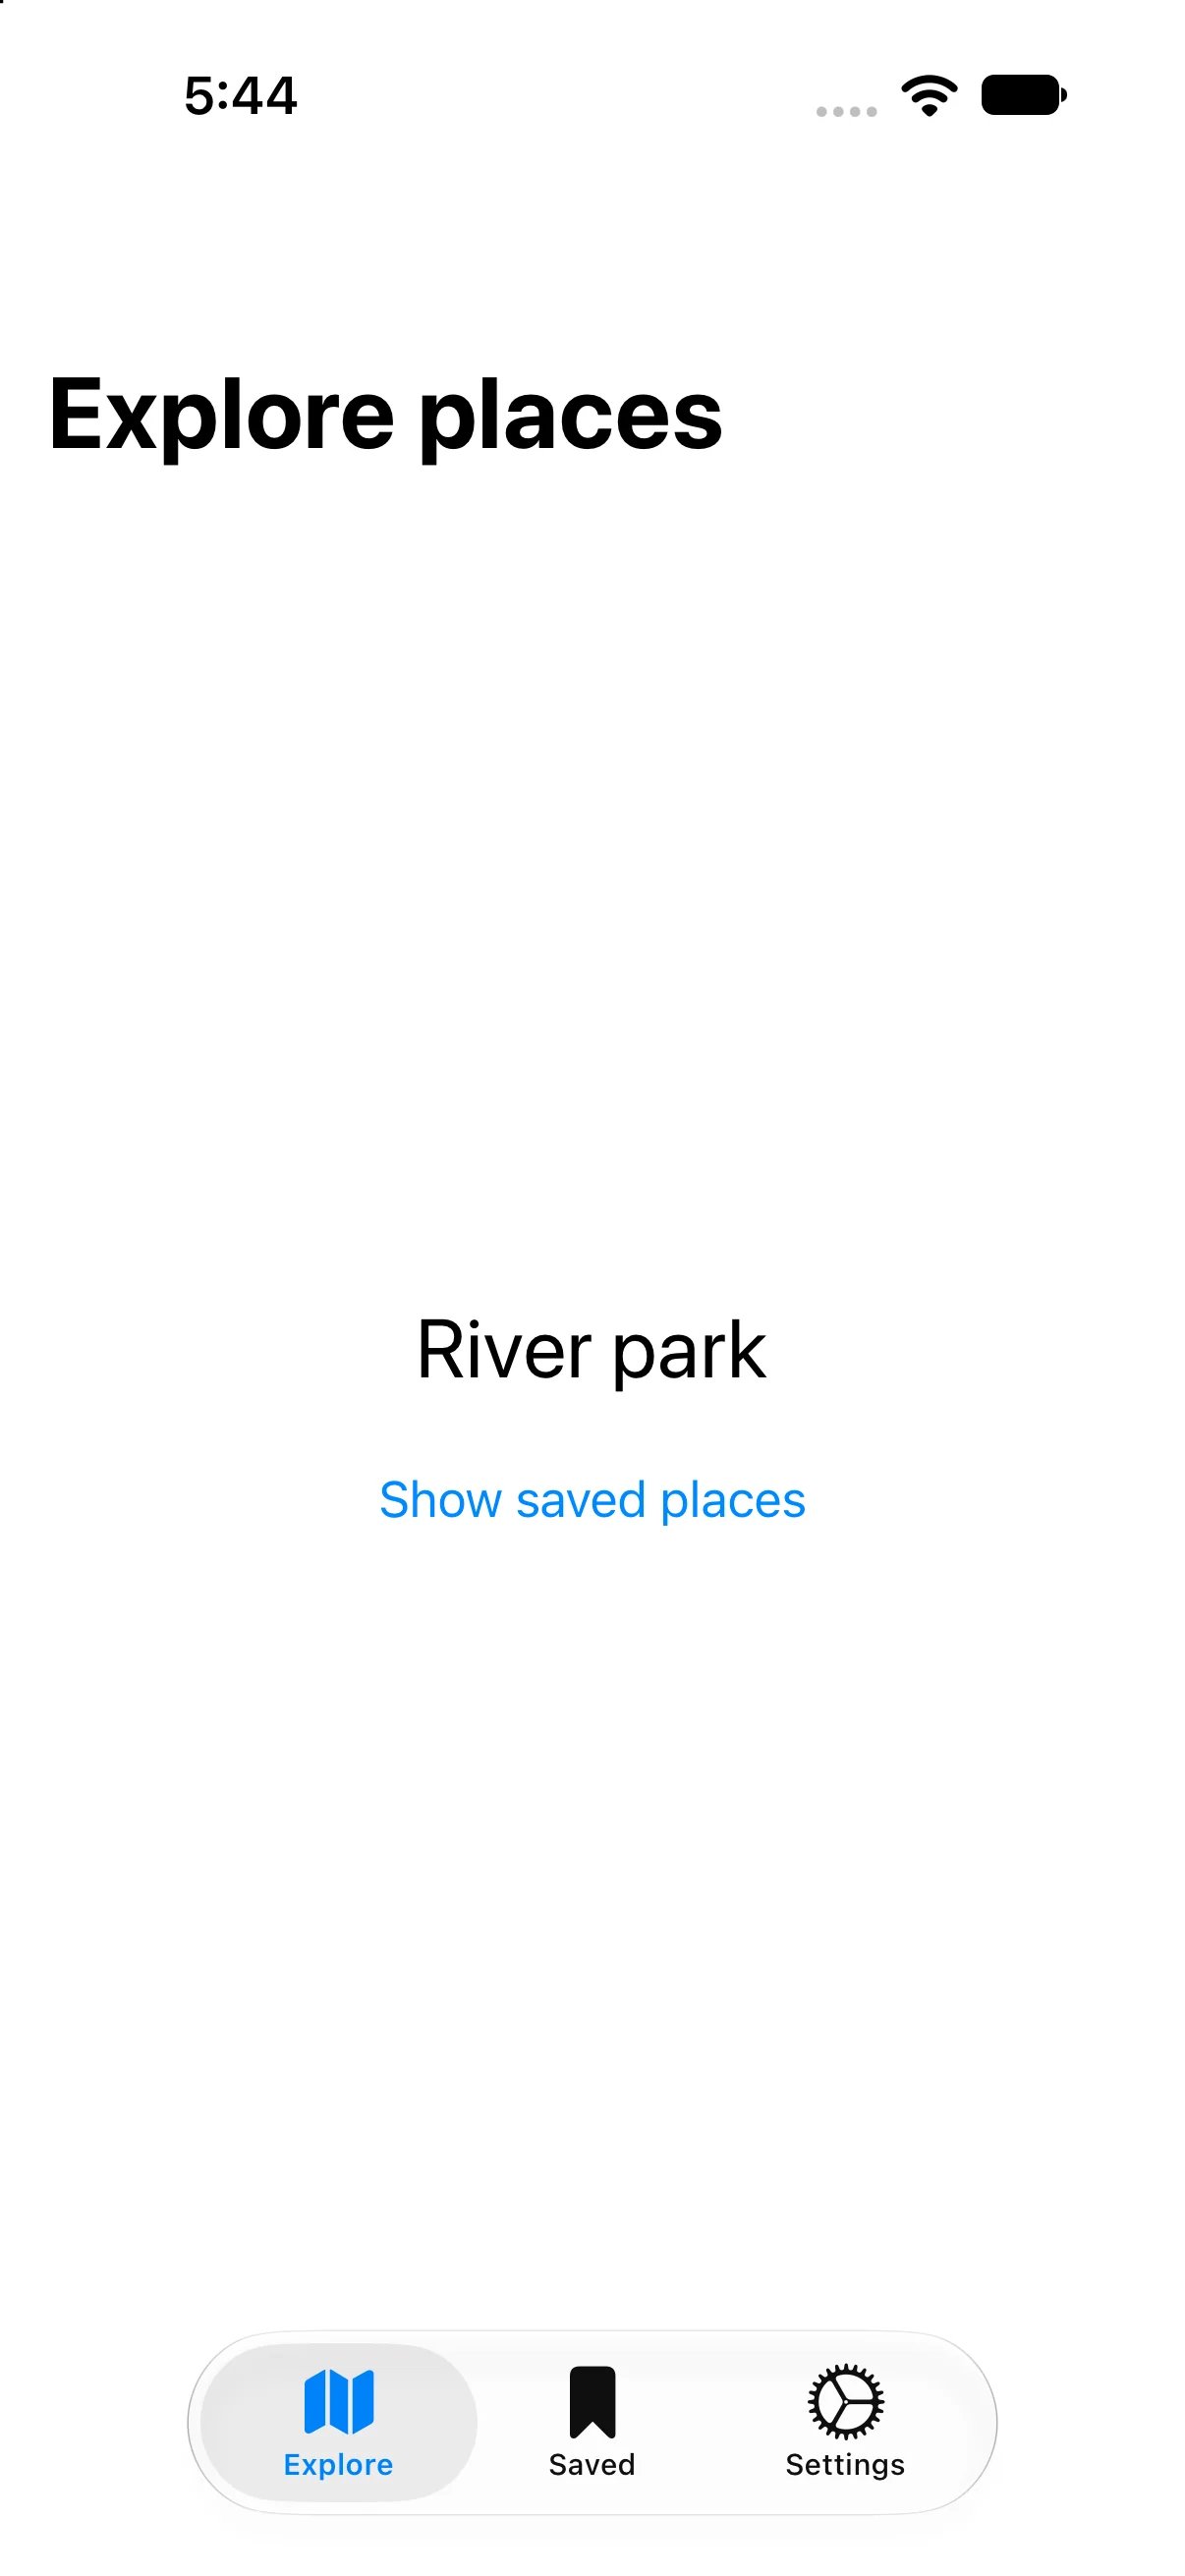
Prerequisites: the earlier SwiftUI Foundations lessons and Swift values/closures. These projects use the installed iOS SDK and local in-memory fixtures. They do not modify personal data or contact a server. The screenshot shows the initial screen before the interaction sequence.
Use tabs for peer destinations
TabView describes a set of top-level destinations. Explore is not the parent of Settings, so a push link from Explore is the wrong relationship for the primary tab switch. Each tab supplies a text label and symbol that remain meaningful together.
The sample uses modern Tab declarations supported by its installed SDK and deployment target. If supporting an older OS that predates this API, use an appropriate availability strategy or the older tabItem/tag form; do not paste a newer declaration into an unsupported target and assume a styling fix will resolve compilation.
Make selection a typed value
TravelTab enumerates explore, saved and settings. The parent owns selection, and each Tab value uses the same enum type. This prevents mismatched string tags such as “Saved” versus “saved.”
enum TravelTab: Hashable { case explore, saved, settings }
@State private var selection: TravelTab = .explore
// Inside TabView(selection: $selection):
Tab("Saved", systemImage: "bookmark", value: .saved) {
    Text("Saved places")
}
This shortened excerpt demonstrates selection identity; the complete project places the real saved list inside its own stack. Display labels may change for localization without changing the enum identity used by code.
Switch by changing selection, not duplicating a screen
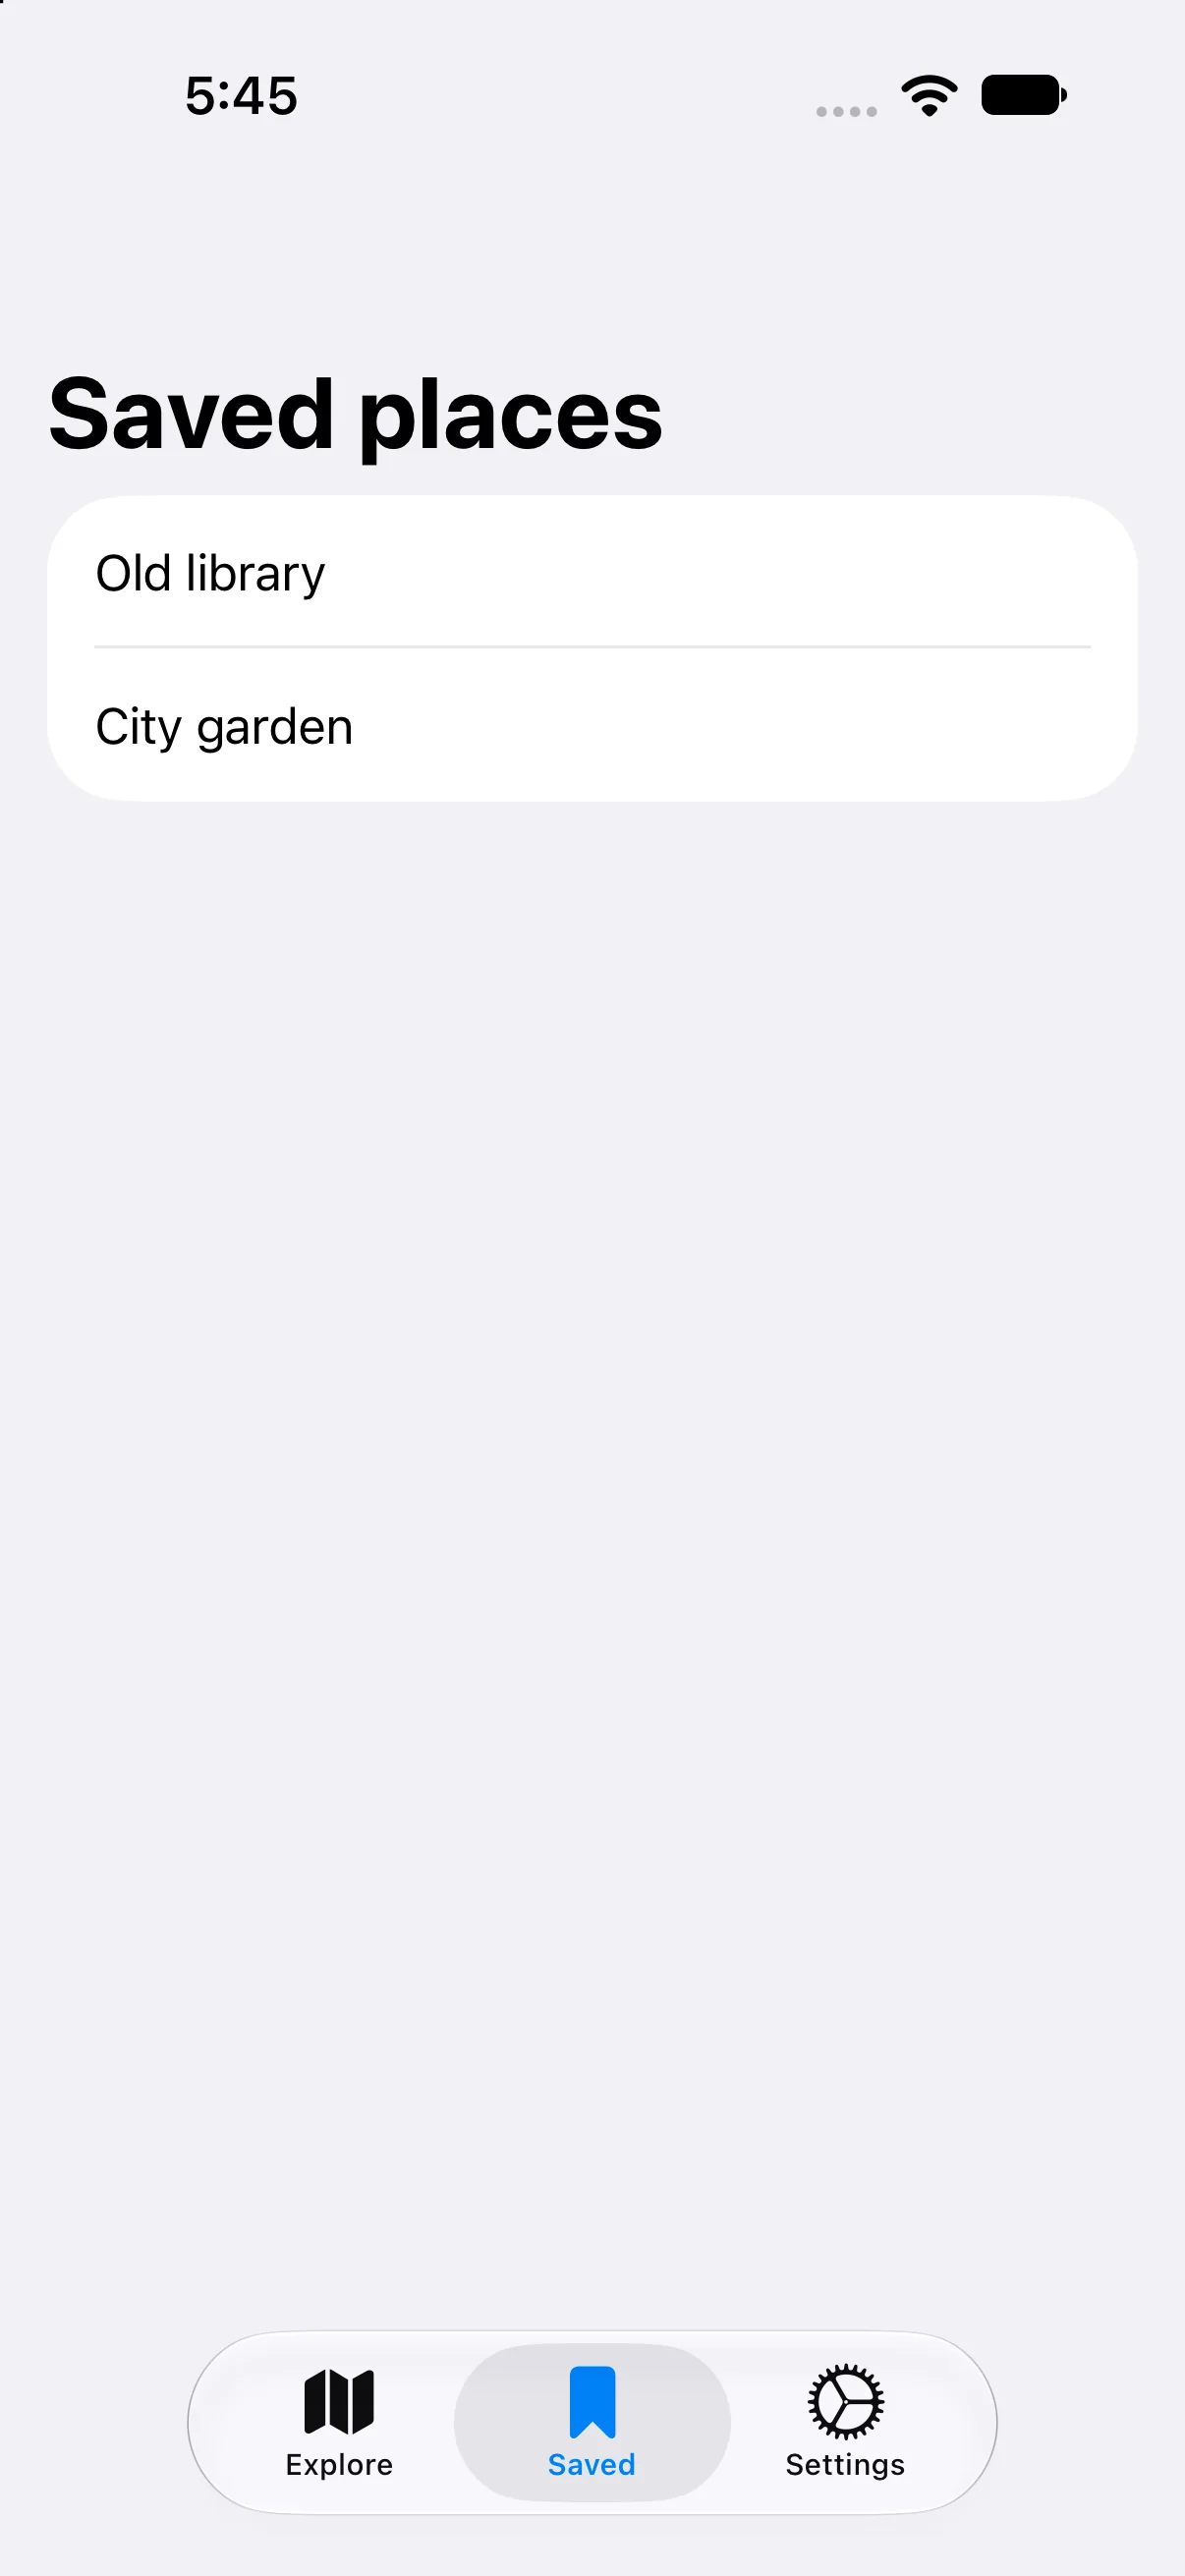
Show saved places assigns selection = .saved. It does not push a second Saved view inside Explore. That distinction prevents two visually similar screens with different back behavior from representing the same top-level destination.
Button("Show saved places") {
    selection = .saved
}
The result should agree with selecting the Saved tab itself. Use a programmatic switch when it helps a meaningful flow; surprising automatic tab changes can disorient the person and should not replace clear navigation choices.
Give independent flows appropriate ownership
Each tab here contains a NavigationStack. That provides its own title and a place for future pushes within that tab. A single outer stack around the entire TabView would represent a different hierarchy and can create confusing cross-tab depth.
This sample verifies selection changes and the corresponding root content. It does not establish restoration of independent deep paths or persistence after process termination. Add owned paths per tab and explicit restoration only when the product requires them. Tab bars can also adapt across platform and size classes; the screenshot is one named simulator configuration.
Build the complete example
Download the TravelTabs Xcode project. Open TravelTabs.xcodeproj, select an installed compatible iPhone simulator, and run. The app entry point already presents ContentView. The complete ContentView.swift below is the exact built source; earlier snippets are explanatory excerpts.
import SwiftUI

struct ContentView: View {
@State private var selection: TravelTab = .explore
 var body: some View {
TabView(selection: $selection) {
 Tab("Explore", systemImage: "map", value: .explore) {
  NavigationStack {
   VStack(spacing: 24) {
    Text("River park").font(.title)
    Button("Show saved places") { selection = .saved }.accessibilityIdentifier("showSaved")
   }.navigationTitle("Explore places")
  }
 }
 Tab("Saved", systemImage: "bookmark", value: .saved) {
  NavigationStack { List { Text("Old library"); Text("City garden") }.navigationTitle("Saved places") }
 }
 Tab("Settings", systemImage: "gear", value: .settings) {
  NavigationStack { Text("Distances: kilometres").navigationTitle("Travel settings") }
 }
}
 }
}

enum TravelTab: Hashable { case explore, saved, settings }

#Preview { ContentView() }
Accessibility identifiers in the file provide stable names for local automation; they are not visible menu labels. #Preview is an editor convenience. The following screenshots come from the launched app after actual automated control interactions.
Switch tabs programmatically
Press Show saved places in Explore. The selected tab changes and the screen displays Saved places with Old library and City garden. No back-to-Explore push control is introduced.
Select another top-level destination
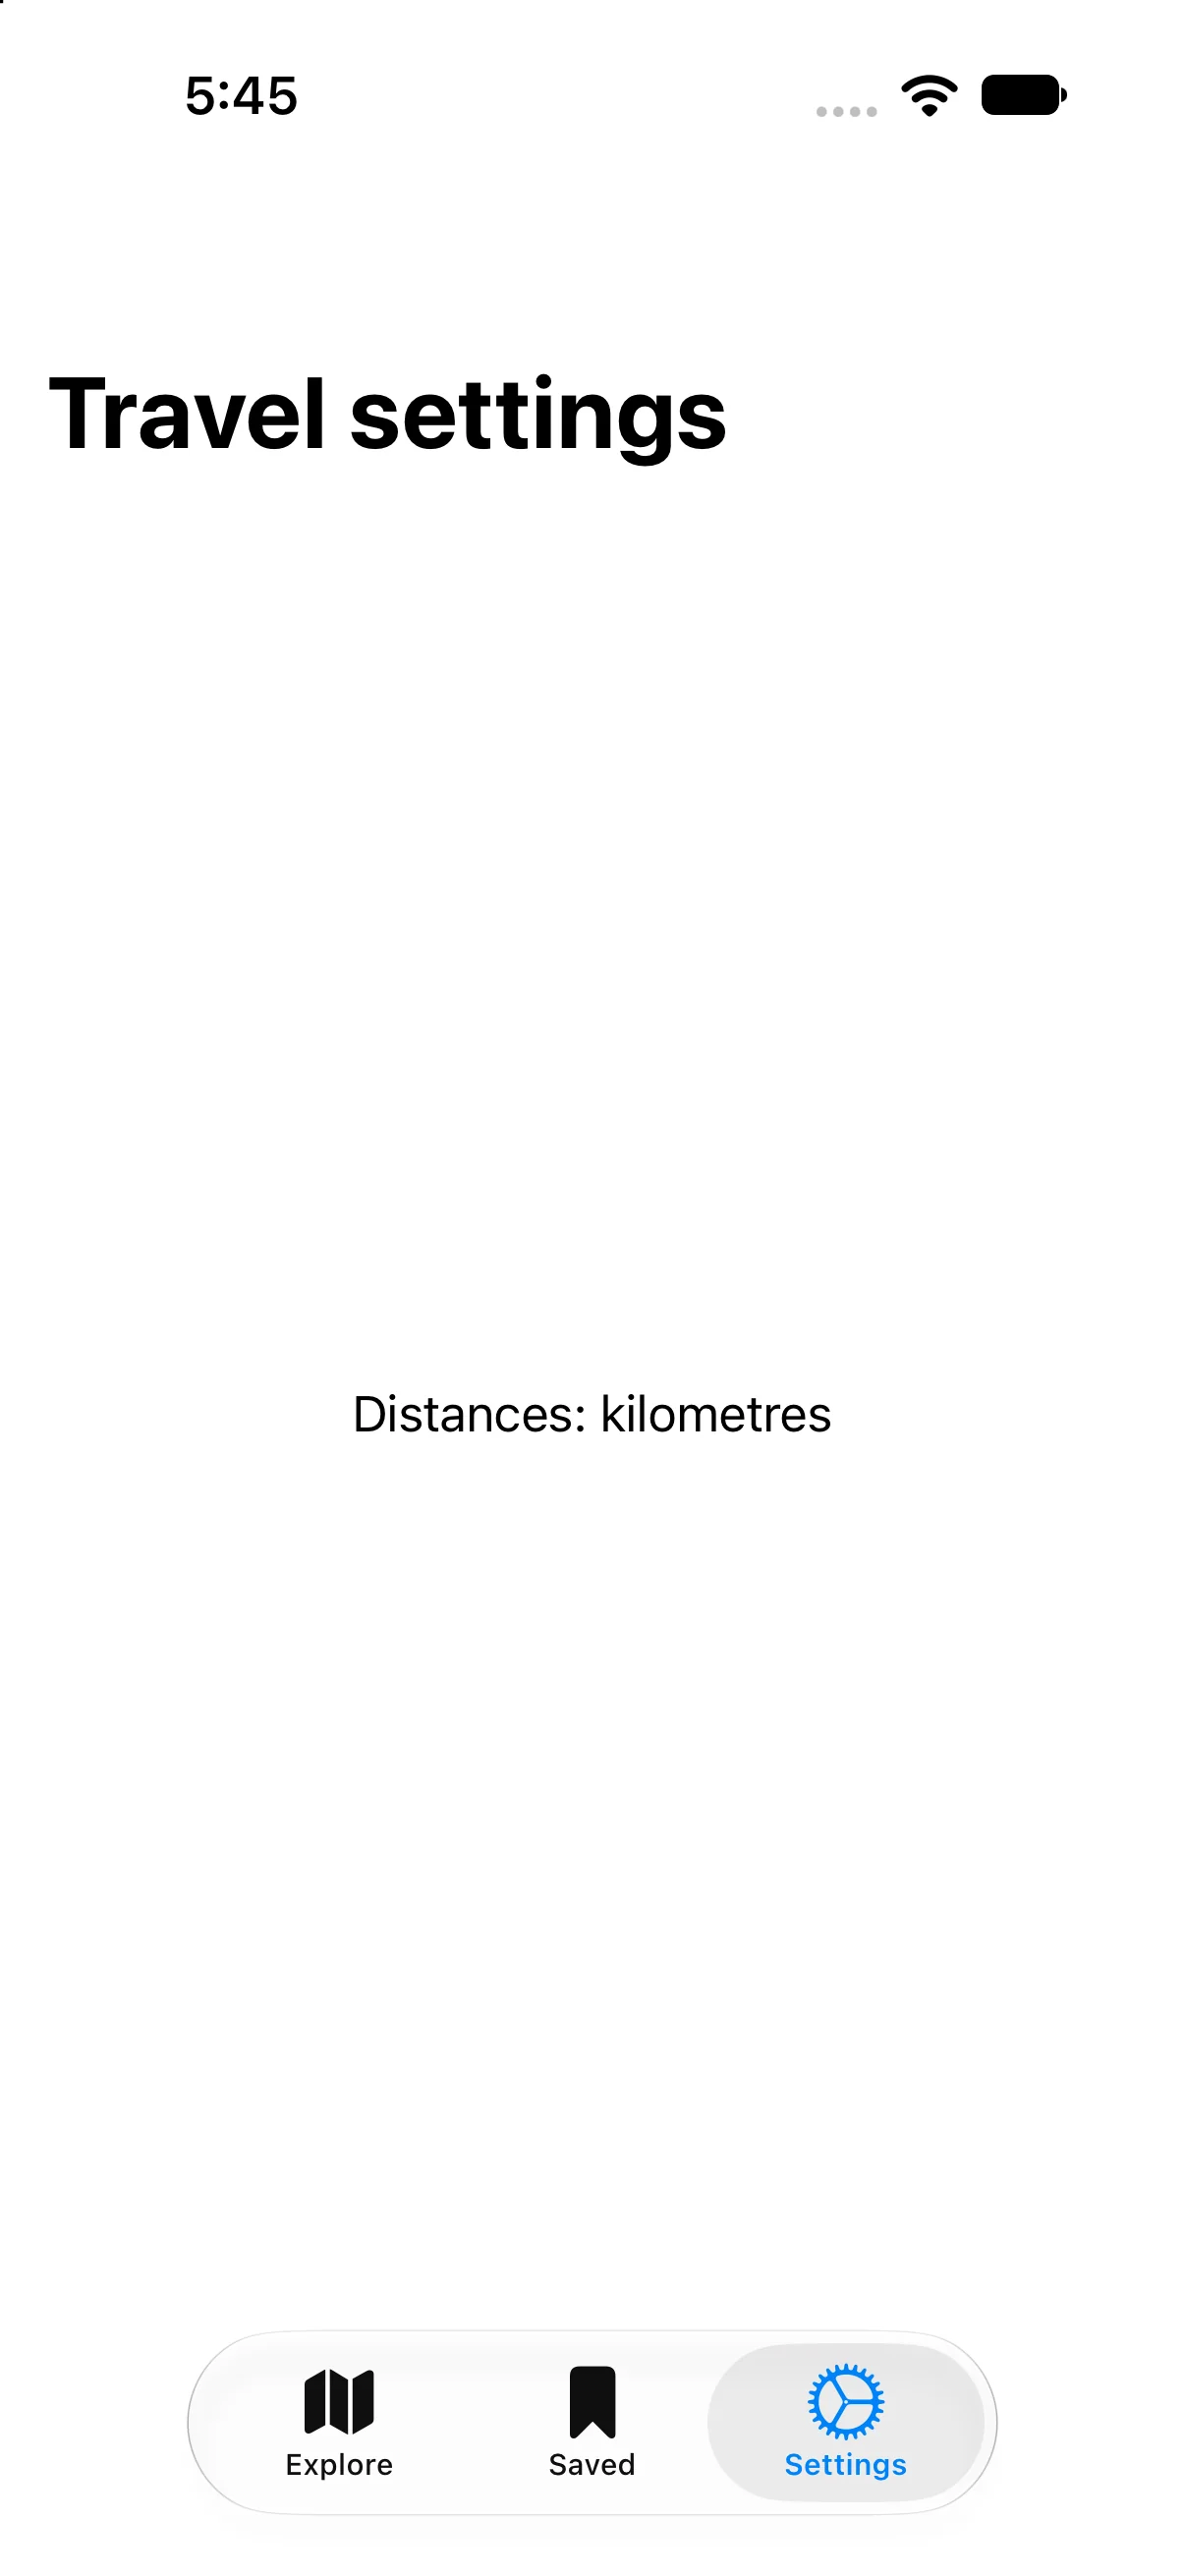
Select Settings from the tab bar. Travel settings and Distances: kilometres replace the saved list. The automation checks the new content, not just a changed icon color.
Check a failure at the right boundary
If your output differs, compare the current input values and the relevant action before changing project settings. Save the complete source, confirm the selected scheme and destination, and inspect the first build diagnostic if compilation fails. A successful build establishes valid source; the action-result checks establish the particular UI transitions shown here.
Practice variations below are proposed changes, not additional captured states. Keep input validation, state ownership and presentation decisions explicit as you extend the project.
Try a new case and explain the result
Add a Recent tab with its own enum case and a short list. Explain how to select it from a button.
Worked answer
Add recent to TravelTab, declare a Tab with value .recent, and assign selection = .recent in the action. Keep labels and values distinct. If Recent needs its own push flow, give it an owned navigation context rather than reusing another tab’s path accidentally.
Check your understanding
Choose the explanation that follows from the worked example.
What to take forward
You organized peer destinations and switched tabs through typed selection. Next, add local search without mutating the source collection.
Reaching the recap and completing the quizzes are separate milestones.