
Navigate from a List to a Detail View in SwiftUI
Navigate from a List to a Detail View in SwiftUI
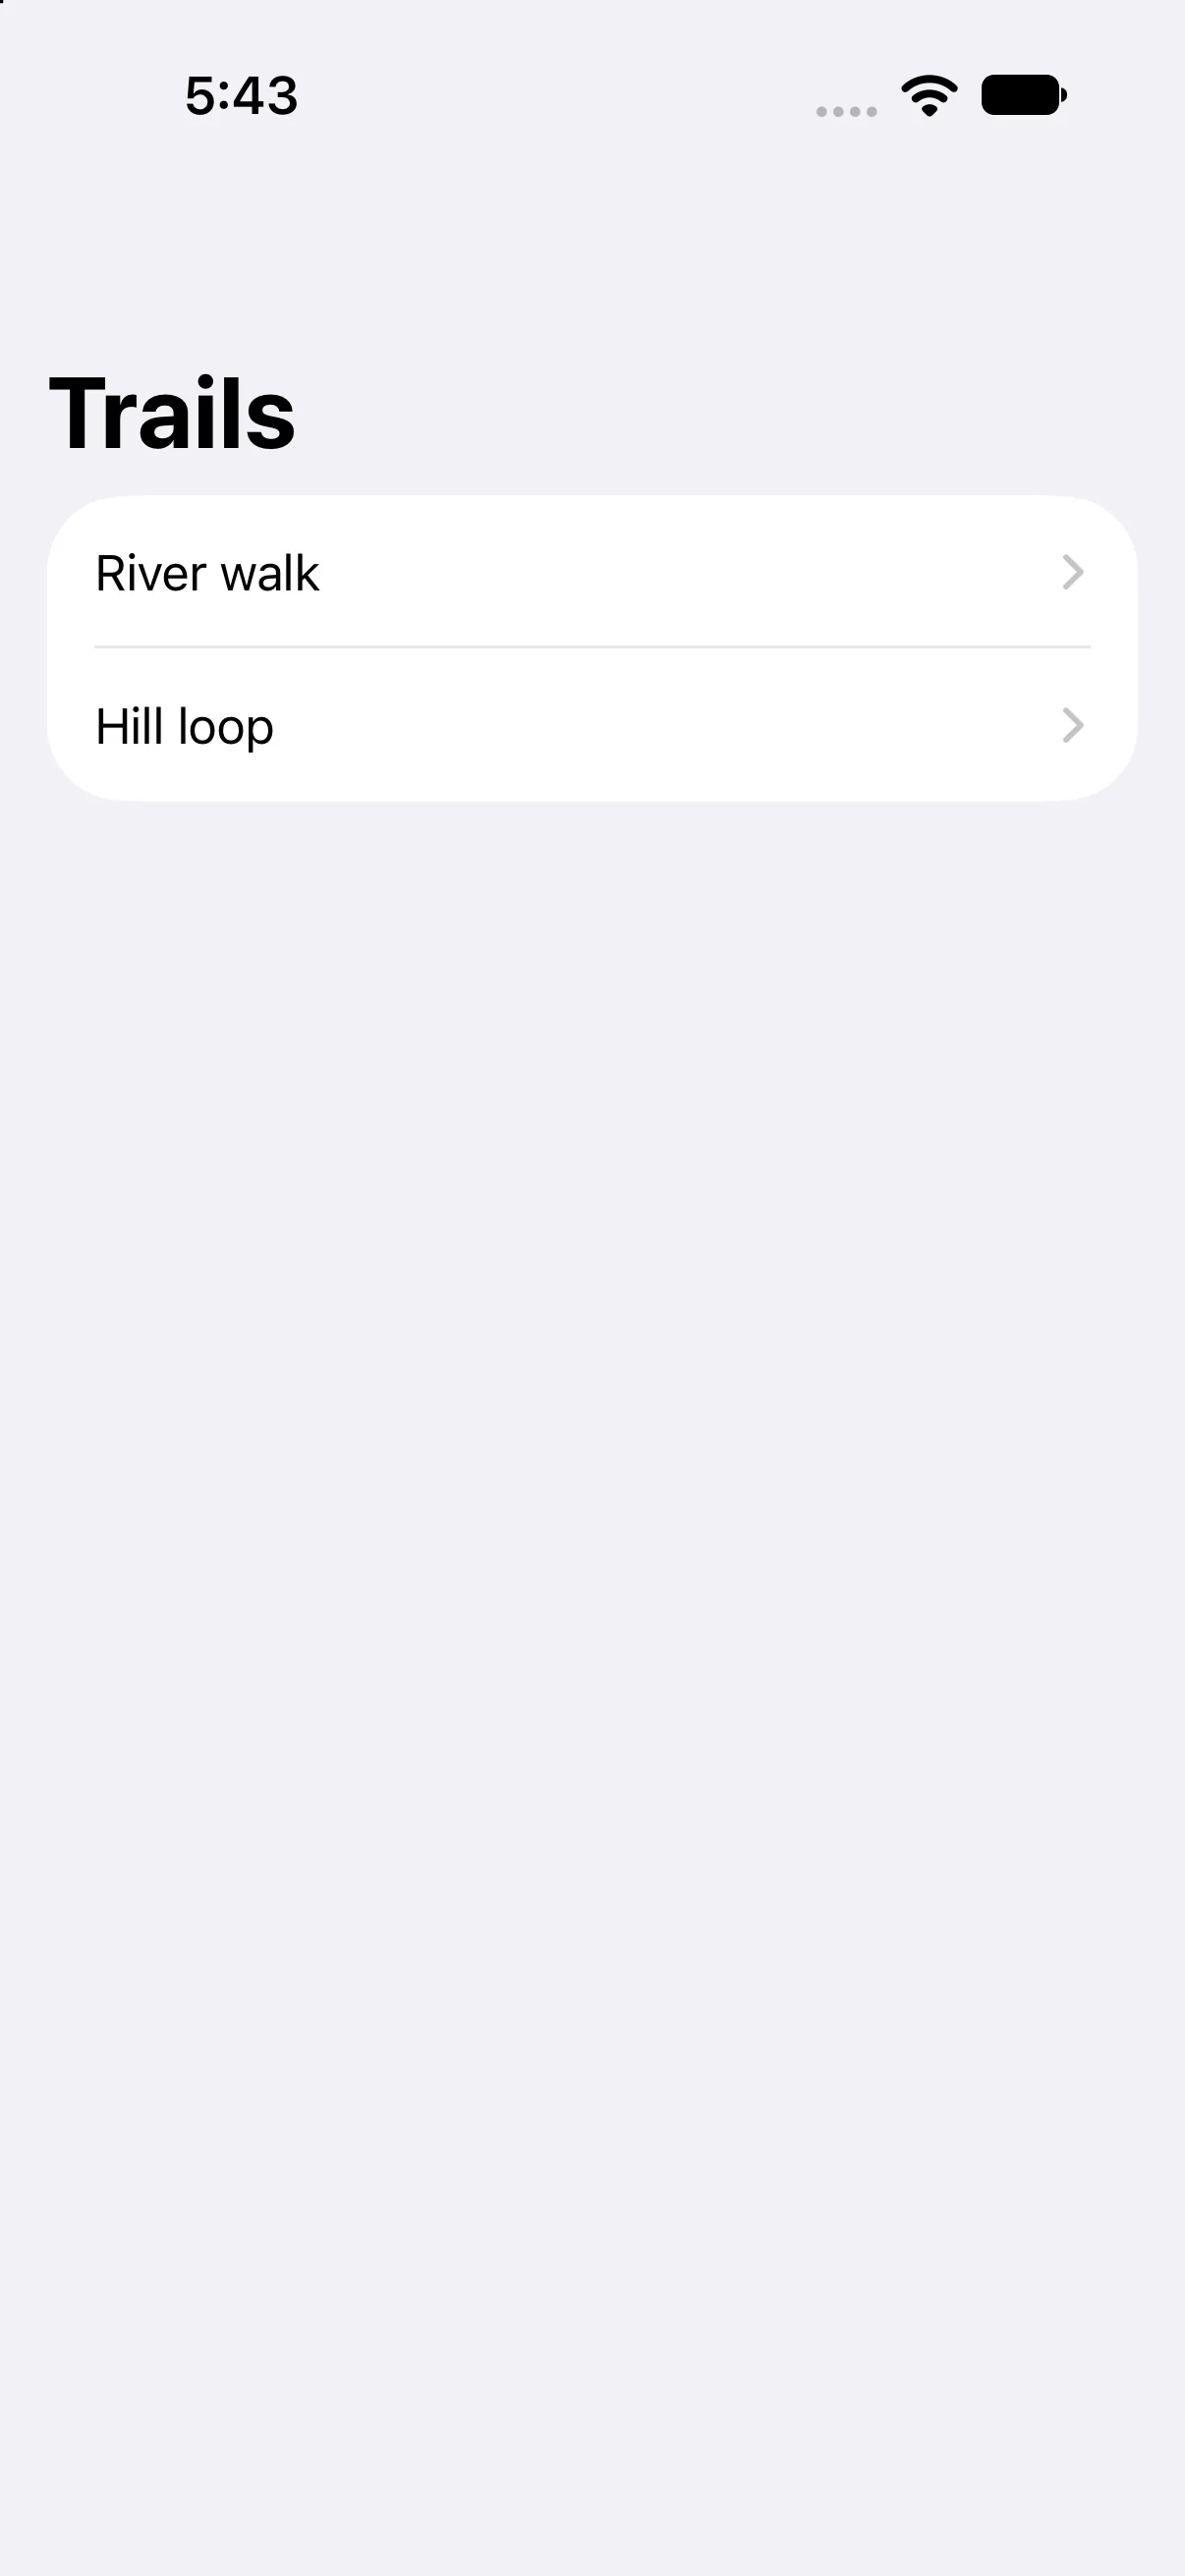
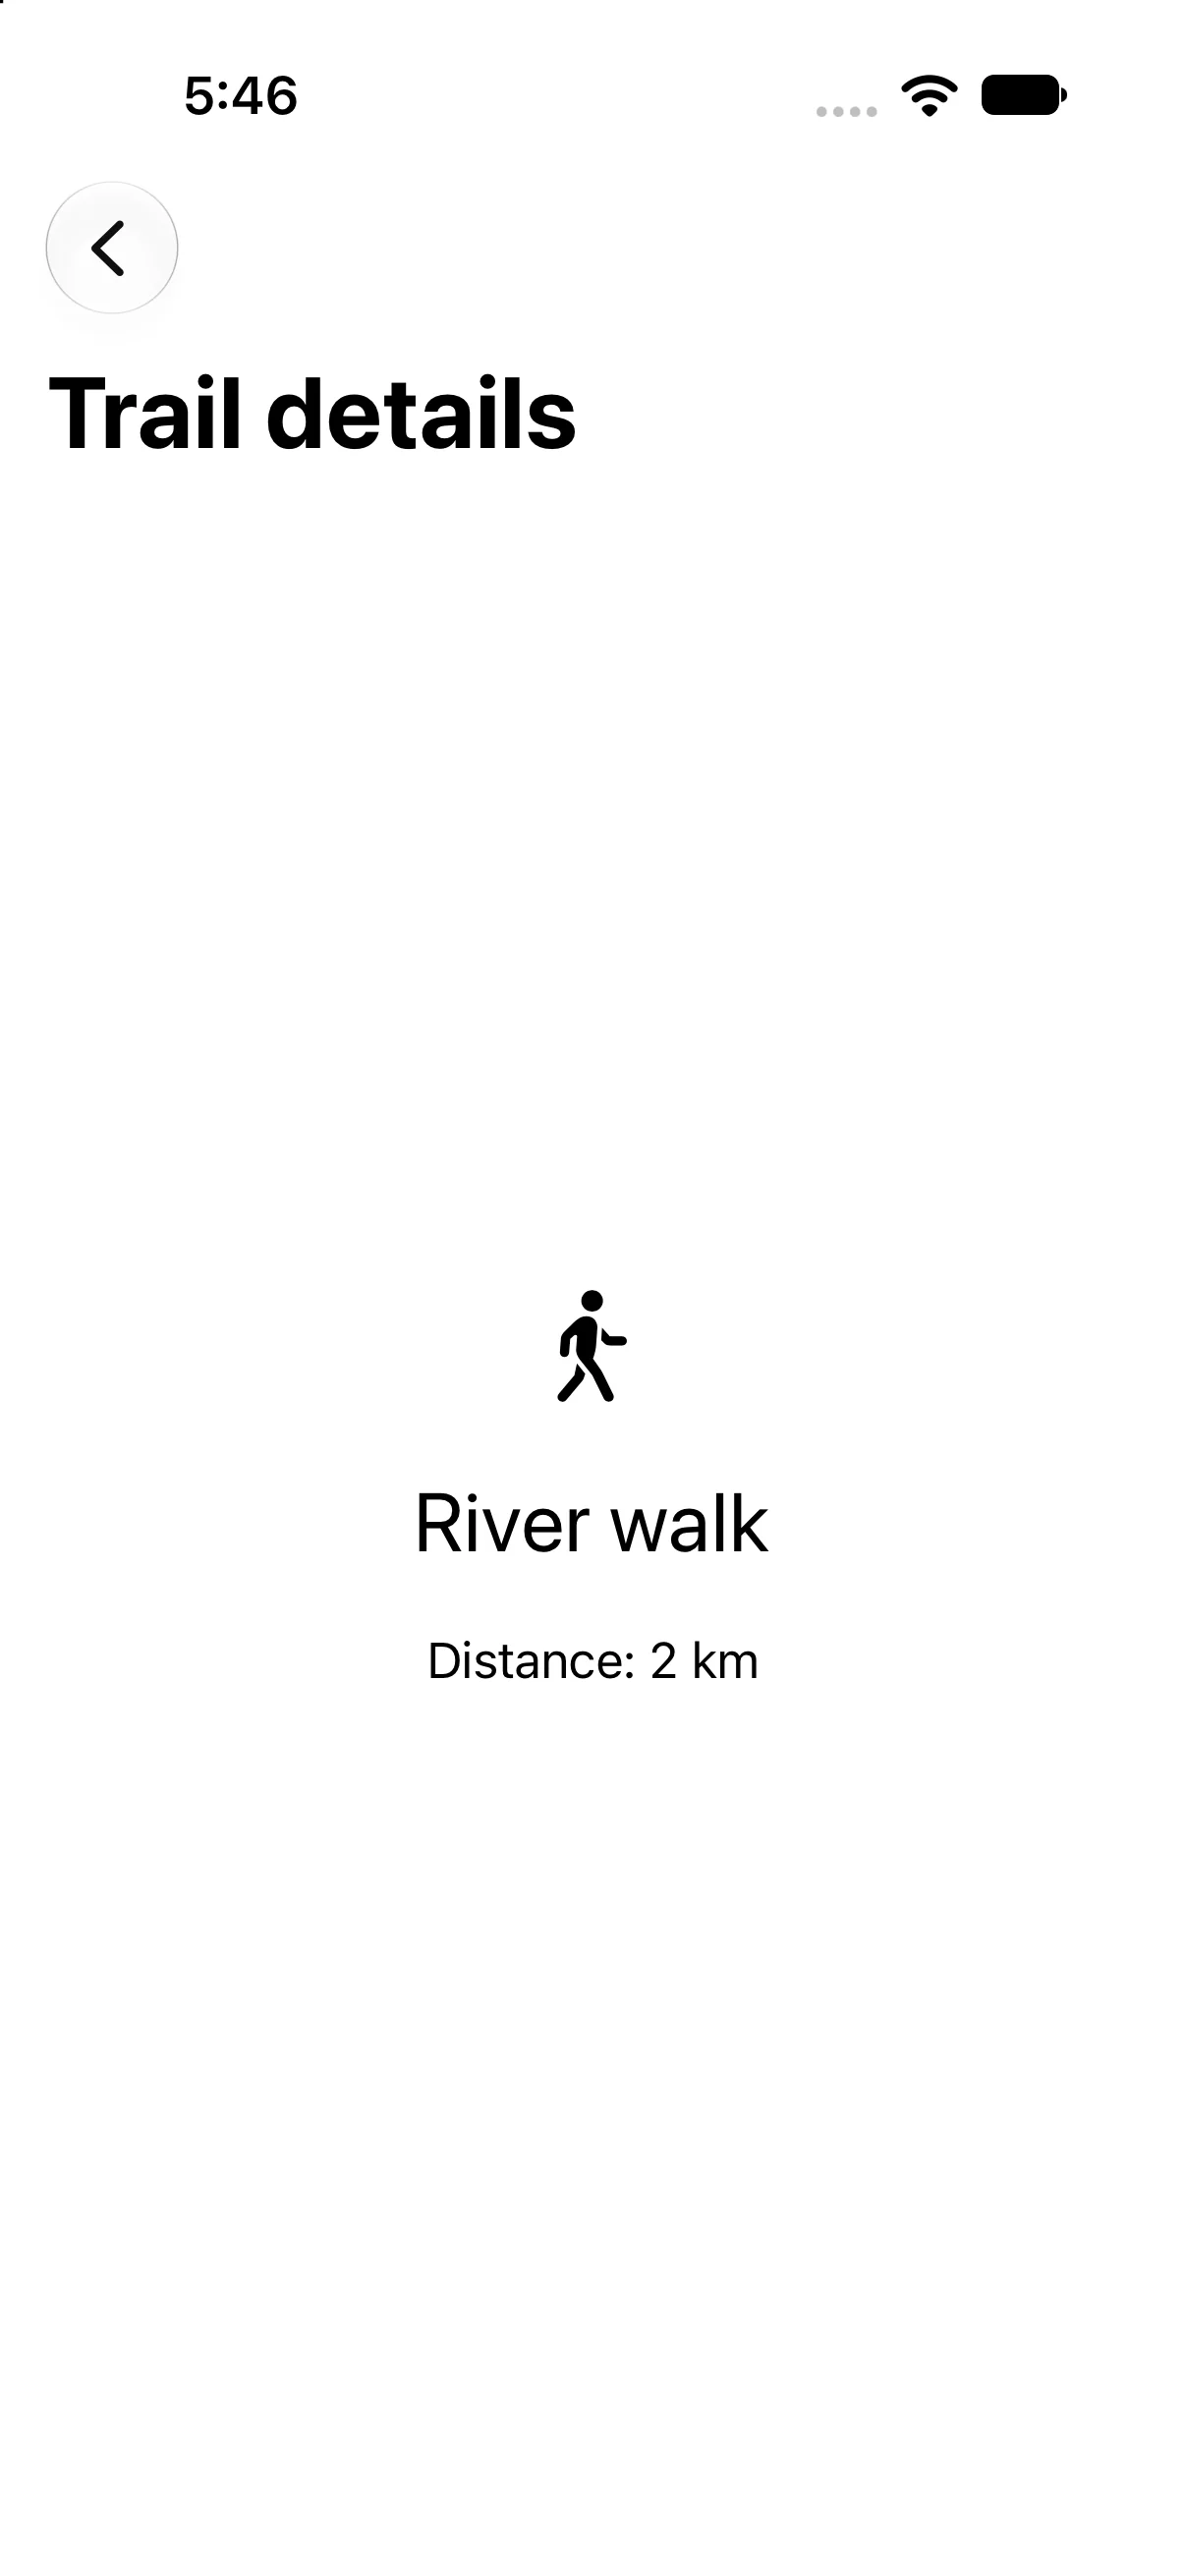
A trails screen lists short names, while each detail screen shows the selected trail and its distance. Navigation should carry the selected data forward and let the person return to the existing list.
You will learn: Place related destinations inside one NavigationStack; create a destination-based NavigationLink; pass model input explicitly; distinguish a snapshot detail from editable shared state.
Prerequisites: the earlier SwiftUI Foundations lessons and Swift values/closures. These projects use the installed iOS SDK and local in-memory fixtures. They do not modify personal data or contact a server. The screenshot shows the initial screen before the interaction sequence.
Give the flow a navigation container
NavigationStack owns the presentation of a root and pushed destinations. The root here is List(trails). The navigation title belongs to the relevant screen inside the stack, rather than being an unrelated text heading outside it.
NavigationStack {
    List(trails) { trail in
        NavigationLink {
            TrailDetail(trail: trail)
        } label: {
            Text(trail.name)
        }
    }
    .navigationTitle("Trails")
}
The link’s destination closure receives the item used by that row. A single hard-coded detail view that ignores trail would make every row open the same content even though navigation itself appears to work.
Pass a small model into the detail view
TrailDetail takes a let Trail. Its body reads the name and distance from that input. The detail does not need to search a global array or rely on a global selectedTrail variable.
struct Trail: Identifiable {
    let id: Int
    let name: String
    let distance: String
}
// A detail input:
let trail: Trail
For this immutable fixture, passing the value is sufficient. For an editable detail backed by changing shared data, decide whether to pass a binding, an observable model or an ID resolved by a store. A copied struct is not automatically a live connection to a parent array.
Use system back navigation
The stack provides a back control and appropriate navigation transitions. Do not create a second root stack just to display the detail: that changes the hierarchy and can discard the expected back relationship. Use a nested stack only when you intentionally need an independent navigation context, such as a modal editor.
Returning should reveal the existing parent context. This baseline has immutable rows, so it verifies the selected content and a return to the list. More complex flows should also check scroll position and editing state when those are product requirements.
Know when destination links are enough
A destination closure is straightforward for a small row-to-detail flow. Programmatic navigation, restoration or several typed destination categories can benefit from value-based links and an explicit path. The next lesson introduces that model rather than forcing it into the first navigation example.
A navigation push is different from presenting a sheet: it adds depth within the current flow rather than a separate temporary task. Pick the relationship first, then the API.
Build the complete example
Download the TrailNavigation Xcode project. Open TrailNavigation.xcodeproj, select an installed compatible iPhone simulator, and run. The app entry point already presents ContentView. The complete ContentView.swift below is the exact built source; earlier snippets are explanatory excerpts.
import SwiftUI

struct ContentView: View {
let trails = [Trail(id: 1, name: "River walk", distance: "2 km"), Trail(id: 2, name: "Hill loop", distance: "5 km")]
 var body: some View {
NavigationStack {
 List(trails) { trail in
  NavigationLink { TrailDetail(trail: trail) } label: { Text(trail.name) }
   .accessibilityIdentifier("trail-\(trail.id)")
 }.navigationTitle("Trails")
}
 }
}

struct Trail: Identifiable { let id: Int; let name: String; let distance: String }
struct TrailDetail: View {
 let trail: Trail
 var body: some View {
  VStack(spacing: 20) {
   Image(systemName: "figure.walk").font(.largeTitle).accessibilityHidden(true)
   Text(trail.name).font(.title)
   Text("Distance: \(trail.distance)")
  }.padding().navigationTitle("Trail details")
 }
}

#Preview { ContentView() }
Accessibility identifiers in the file provide stable names for local automation; they are not visible menu labels. #Preview is an editor convenience. The following screenshots come from the launched app after actual automated control interactions.
Push the selected trail
Activate River walk. The pushed screen is titled Trail details and shows River walk with Distance: 2 km. Checking the name and distance establishes that the selected model reached the destination, not merely that some detail screen appeared.
Return to the existing list
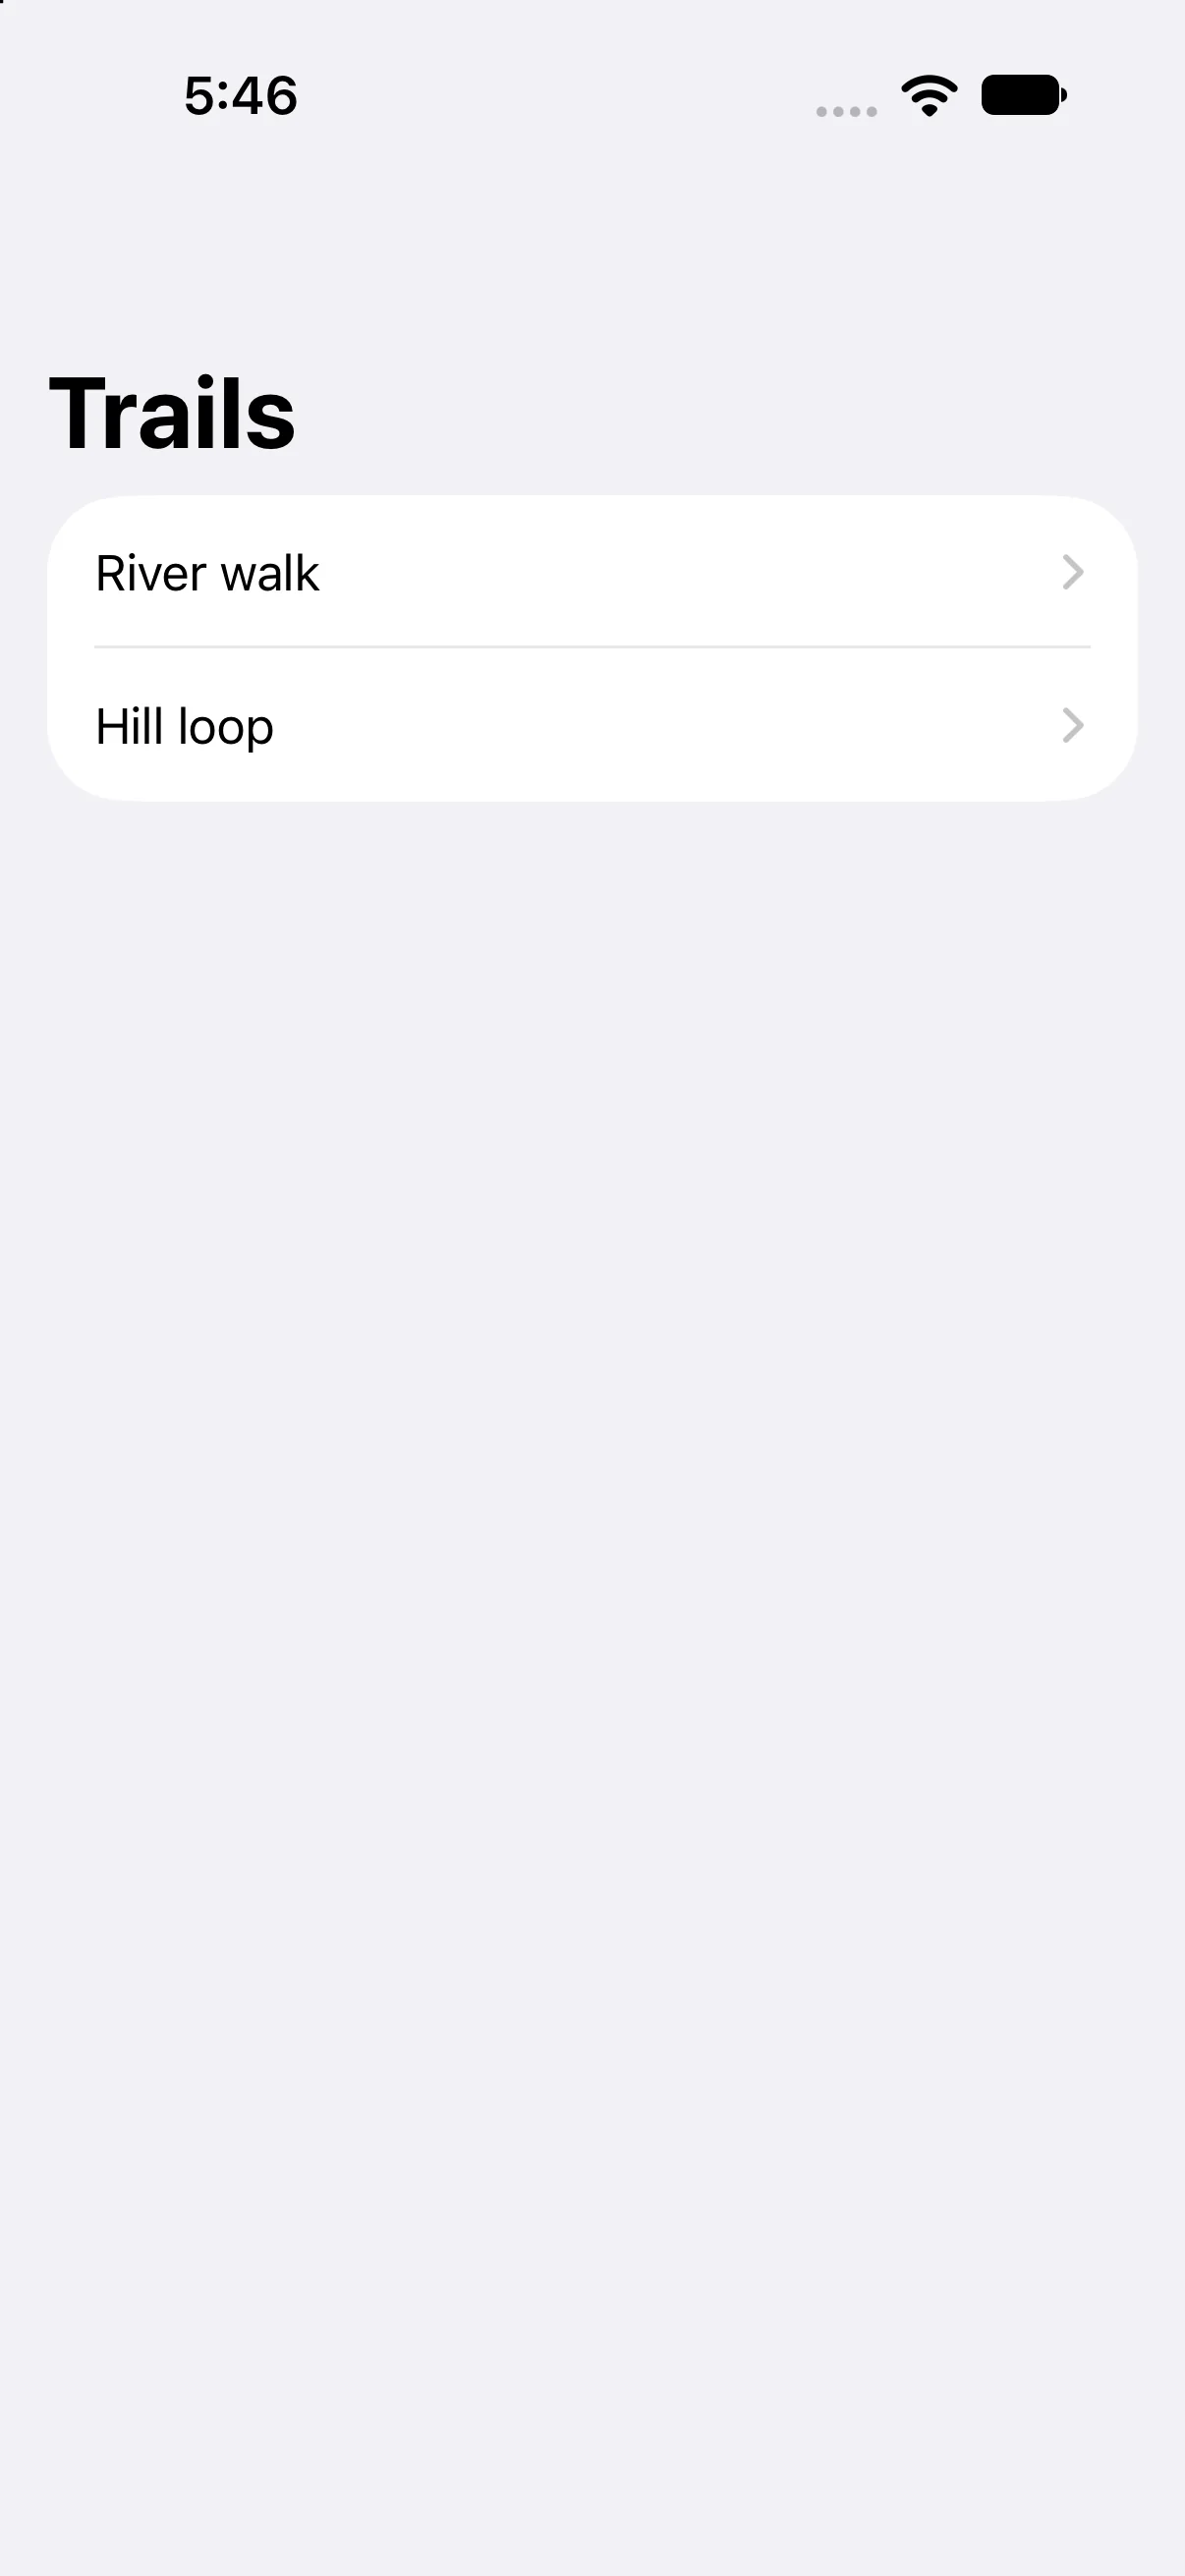
Use the Trails back control. The root list again shows both trail choices. A separate interaction run can choose Hill loop and should display 5 km; that is the independent practice below.
Check a failure at the right boundary
If your output differs, compare the current input values and the relevant action before changing project settings. Save the complete source, confirm the selected scheme and destination, and inspect the first build diagnostic if compilation fails. A successful build establishes valid source; the action-result checks establish the particular UI transitions shown here.
Practice variations below are proposed changes, not additional captured states. Keep input validation, state ownership and presentation decisions explicit as you extend the project.
Try a new case and explain the result
Open Hill loop and predict the detail before activating it. Then add a third immutable trail.
Worked answer
Hill loop displays Distance: 5 km because its row passes that model. A third Trail with a unique ID automatically receives the same link/detail composition through List. Do not duplicate the destination body for each trail.
Check your understanding
Choose the explanation that follows from the worked example.
What to take forward
You built and verified a row-to-detail push and its back path. Next, represent a multi-step flow as typed route values.
Reaching the recap and completing the quizzes are separate milestones.