
Run an iOS App on Your iPhone
Move from simulator to iPhone
Run the same Hello World app on an actual iPhone. You will learn how a physical destination differs from a simulator, why signing matters and how to confirm that the installed app is the one you built.
This lesson was verified on iPhone 14 Pro Max running iOS 27.0.1. Its output screenshot is a physical-device capture. The earlier lessons retain their simulator screenshots.
Prepare the connection
Connect the iPhone to the Mac, unlock it and open Xcode. If the phone asks whether to trust this computer, review the prompt and complete it directly on the device. Do not share your passcode.
Physical development may require Developer Mode and device preparation. Follow the prompts for your device and Xcode version; enabling Developer Mode can require a restart and confirmation. Our teaching device already had its development setup, so this lesson does not present those approval screens as newly captured steps.
The project deployment target must be supported by the phone’s iOS version. This sample targets iOS 27.
Configure development signing
Select the project, then the app target, and inspect Signing & Capabilities. For a typical first project, use automatically managed signing and choose your existing development team. If no team is available, Xcode’s account setup is a separate prerequisite.
The bundle identifier identifies the app. Use an identifier available to your team. A signing or provisioning error must be resolved before a physical-device build can install. Do not copy a tutorial author’s team identifier or credentials.
For this verification we used the Mac’s existing development team through the build command. We did not change the learner sample’s global Xcode account preferences.
Choose the connected phone and run
Select the HelloWorld scheme and your connected iPhone in Xcode’s run-destination selector. Choose the real phone rather than a similarly named simulator. Press Command-R and allow Xcode to build and install.
Keep the device unlocked during installation and launch. Read any device or Xcode error before retrying. A successful build alone does not prove the app launched: inspect the phone screen.
Our pipeline separately completed the signed build, app installation and launch, then captured and verified the visible greeting.
Verify the physical-device output
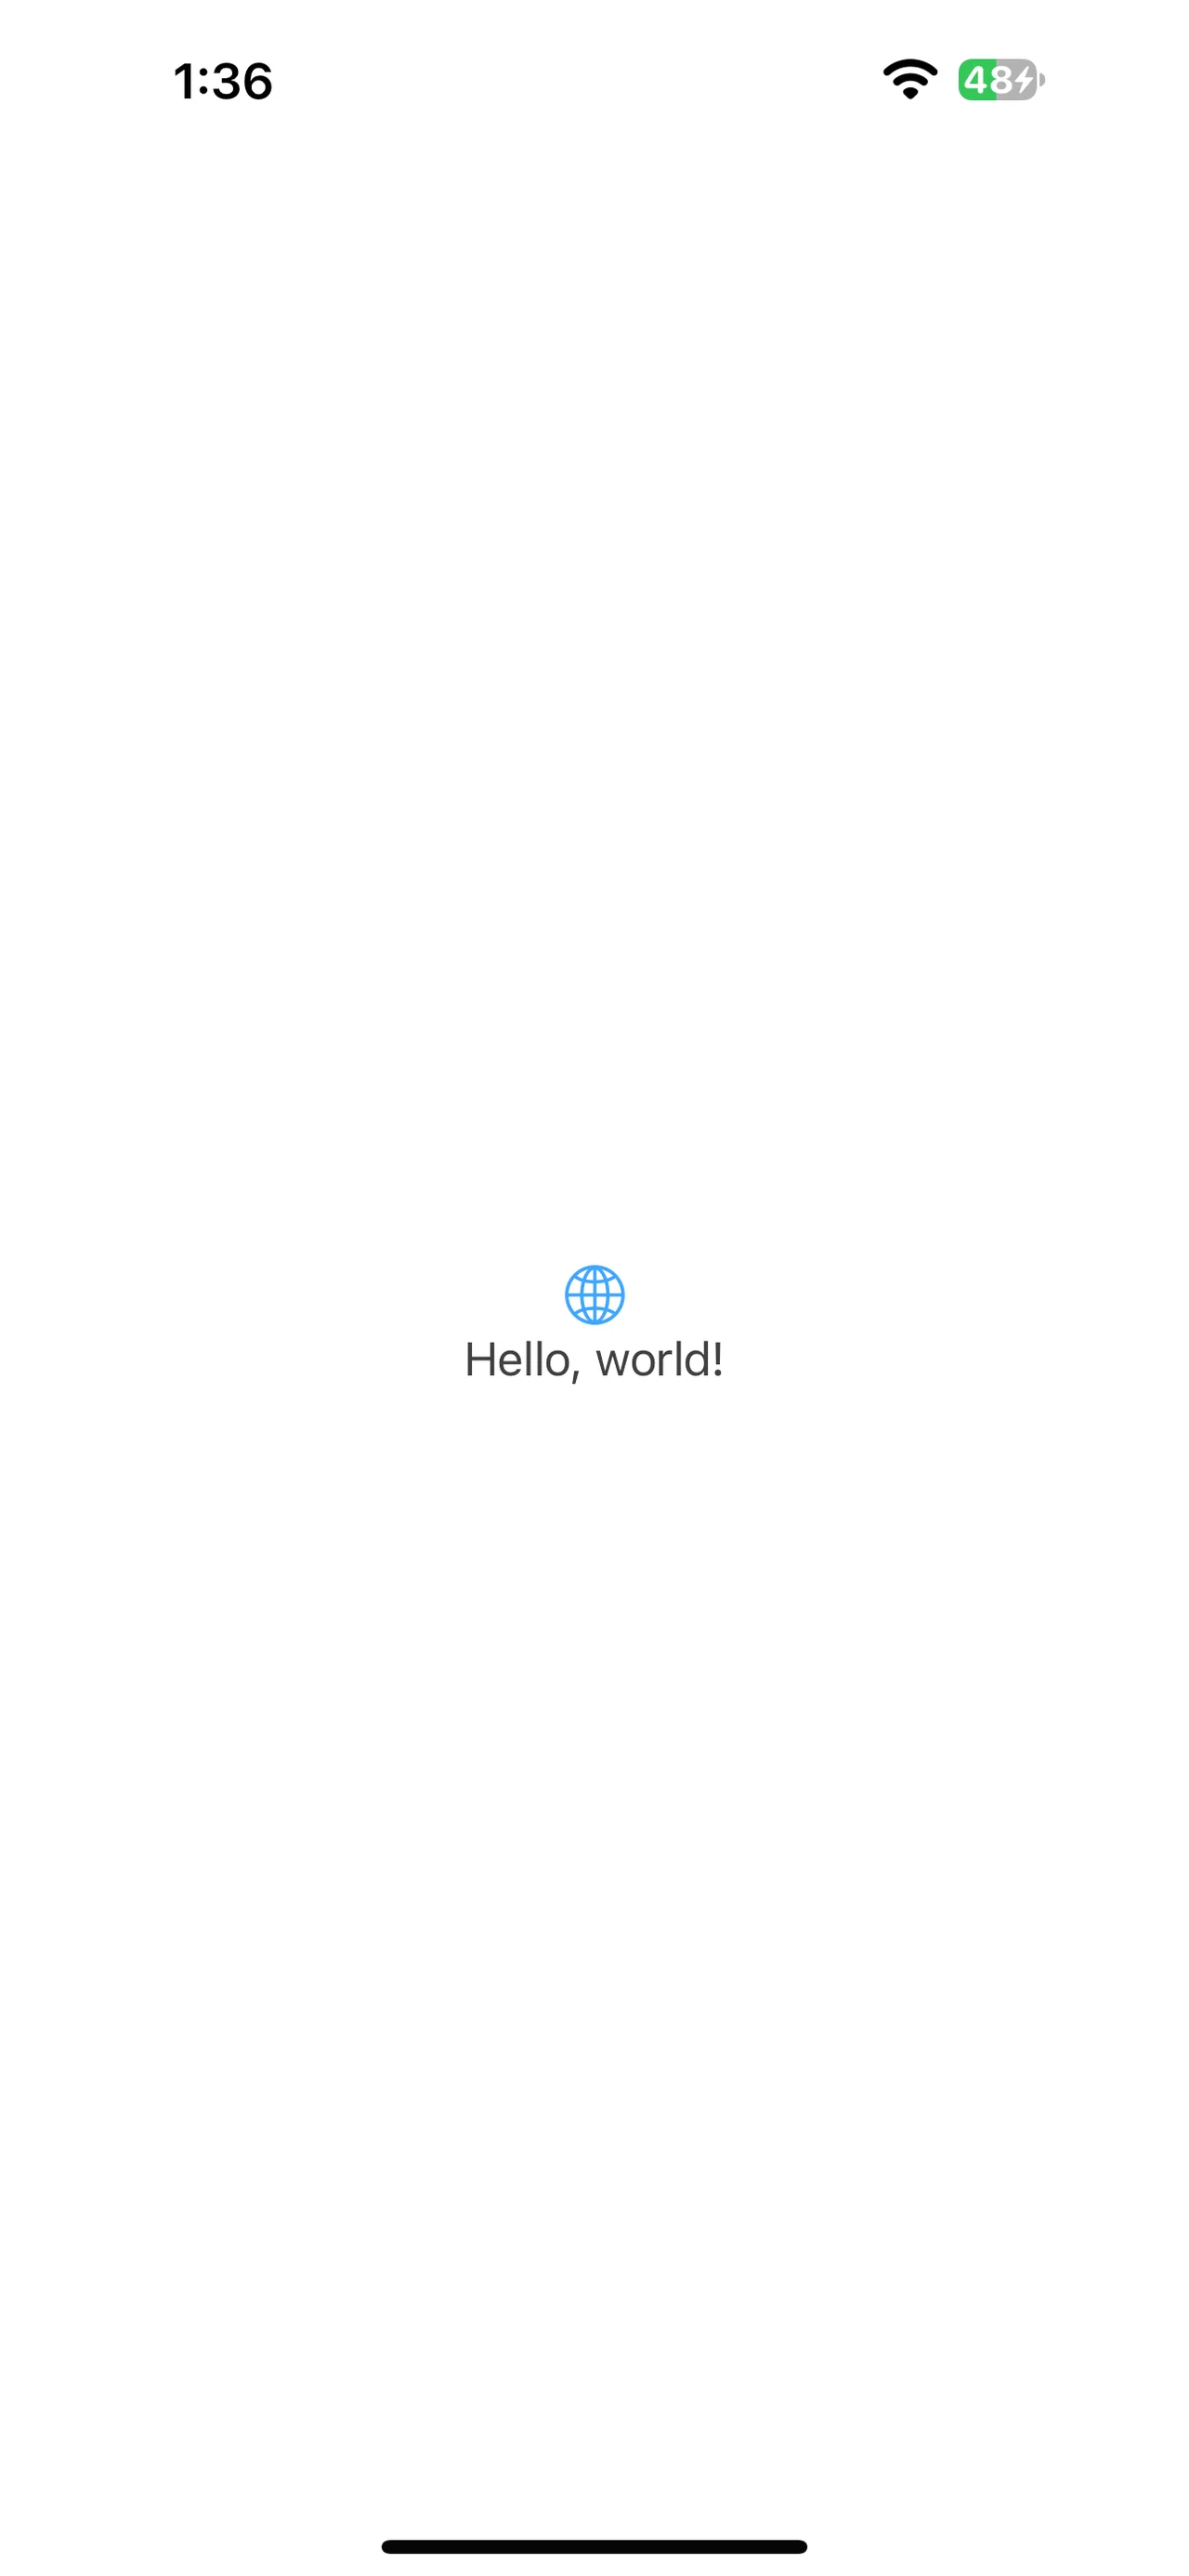
You should see a globe above Hello, world!. Confirm the text matches the saved ContentView.swift. This simple app does not request camera, photos or location access.
Resolve the right kind of failure
Phone not listed: check the cable, unlock state and pairing in Xcode’s Devices and Simulators window. Wait for device preparation to complete.
Signing or provisioning error: inspect the app target’s team, bundle identifier and signing status. Do not assume that changing SwiftUI source fixes signing.
Launch blocked: read the exact device message. Trust, Developer Mode or an unlocked device may be required. Complete authentication on the phone yourself.
Old screen: save the source and check the selected project, scheme and phone before building again.
Separate build, signing, installation and launch
A physical-device run adds several boundaries to the simulator workflow. The compiler must build for the device platform. Signing must authorize that app identity and device. The package must install. Finally the process must launch and render the expected view. An error at one boundary does not mean the SwiftUI layout is wrong.
Investigate the earliest failed boundary
If compilation fails, resolve the source diagnostic. If signing fails, inspect the selected target’s team and bundle identifier and the exact provisioning message. If installation fails, inspect pairing, device preparation and the device’s reported condition. If the process launches but shows unexpected content, verify the selected scheme and saved source before changing signing again.
Complete passcodes, trust and account authentication directly on your own device. This course does not need your credentials or a change to personal data. The supplied screenshot proves the captured app state on the named iPhone, not a successful App Store distribution or access to every hardware API.
Make a controlled comparison
Run the same saved source in a simulator and on the phone. Compare the greeting first, then dimensions, safe-area spacing and text size. A different screen size can change wrapping without changing the program’s data. If the greeting differs, you have a reproducibility problem; if only wrapping differs, investigate layout proposals and environment settings.
Compare simulator and device
Find one difference between the physical output here and the simulator output in Hello World. Consider screen dimensions, status bar and OS version; the greeting should be identical.
Worked answer
The output is rendered on different device hardware or simulated dimensions, but both run the same SwiftUI view. Successful simulator execution does not establish camera behavior, physical performance or every permission flow on a real iPhone.
Check the deployment workflow
What confirms that the correct app reached the device?
Your app now runs on real hardware
You distinguished signing, installation and launch, then compared the device screen with the expected greeting. Keep simulator testing for quick repeatable checks and use hardware for device-specific behavior.
Download the sample project. Reference: Apple: Running your app in Simulator or on a device.
Reaching the recap and completing the quizzes are separate milestones.