
Build Editable Lists with SwiftUI List and ForEach
Build Editable Lists with SwiftUI List and ForEach
A grocery list must insert new rows without confusing existing items, show a current count, and expose standard editing controls. Combine List for the container with ForEach for identified row generation.
You will learn: Distinguish List from ForEach; give inserted items unique stable IDs; derive counts; connect editing operations to the actual source array.
Prerequisites: the earlier SwiftUI Foundations lessons and Swift values/closures. These projects use the installed iOS SDK and local in-memory fixtures. They do not modify personal data or contact a server. The screenshot shows the initial screen before the interaction sequence.
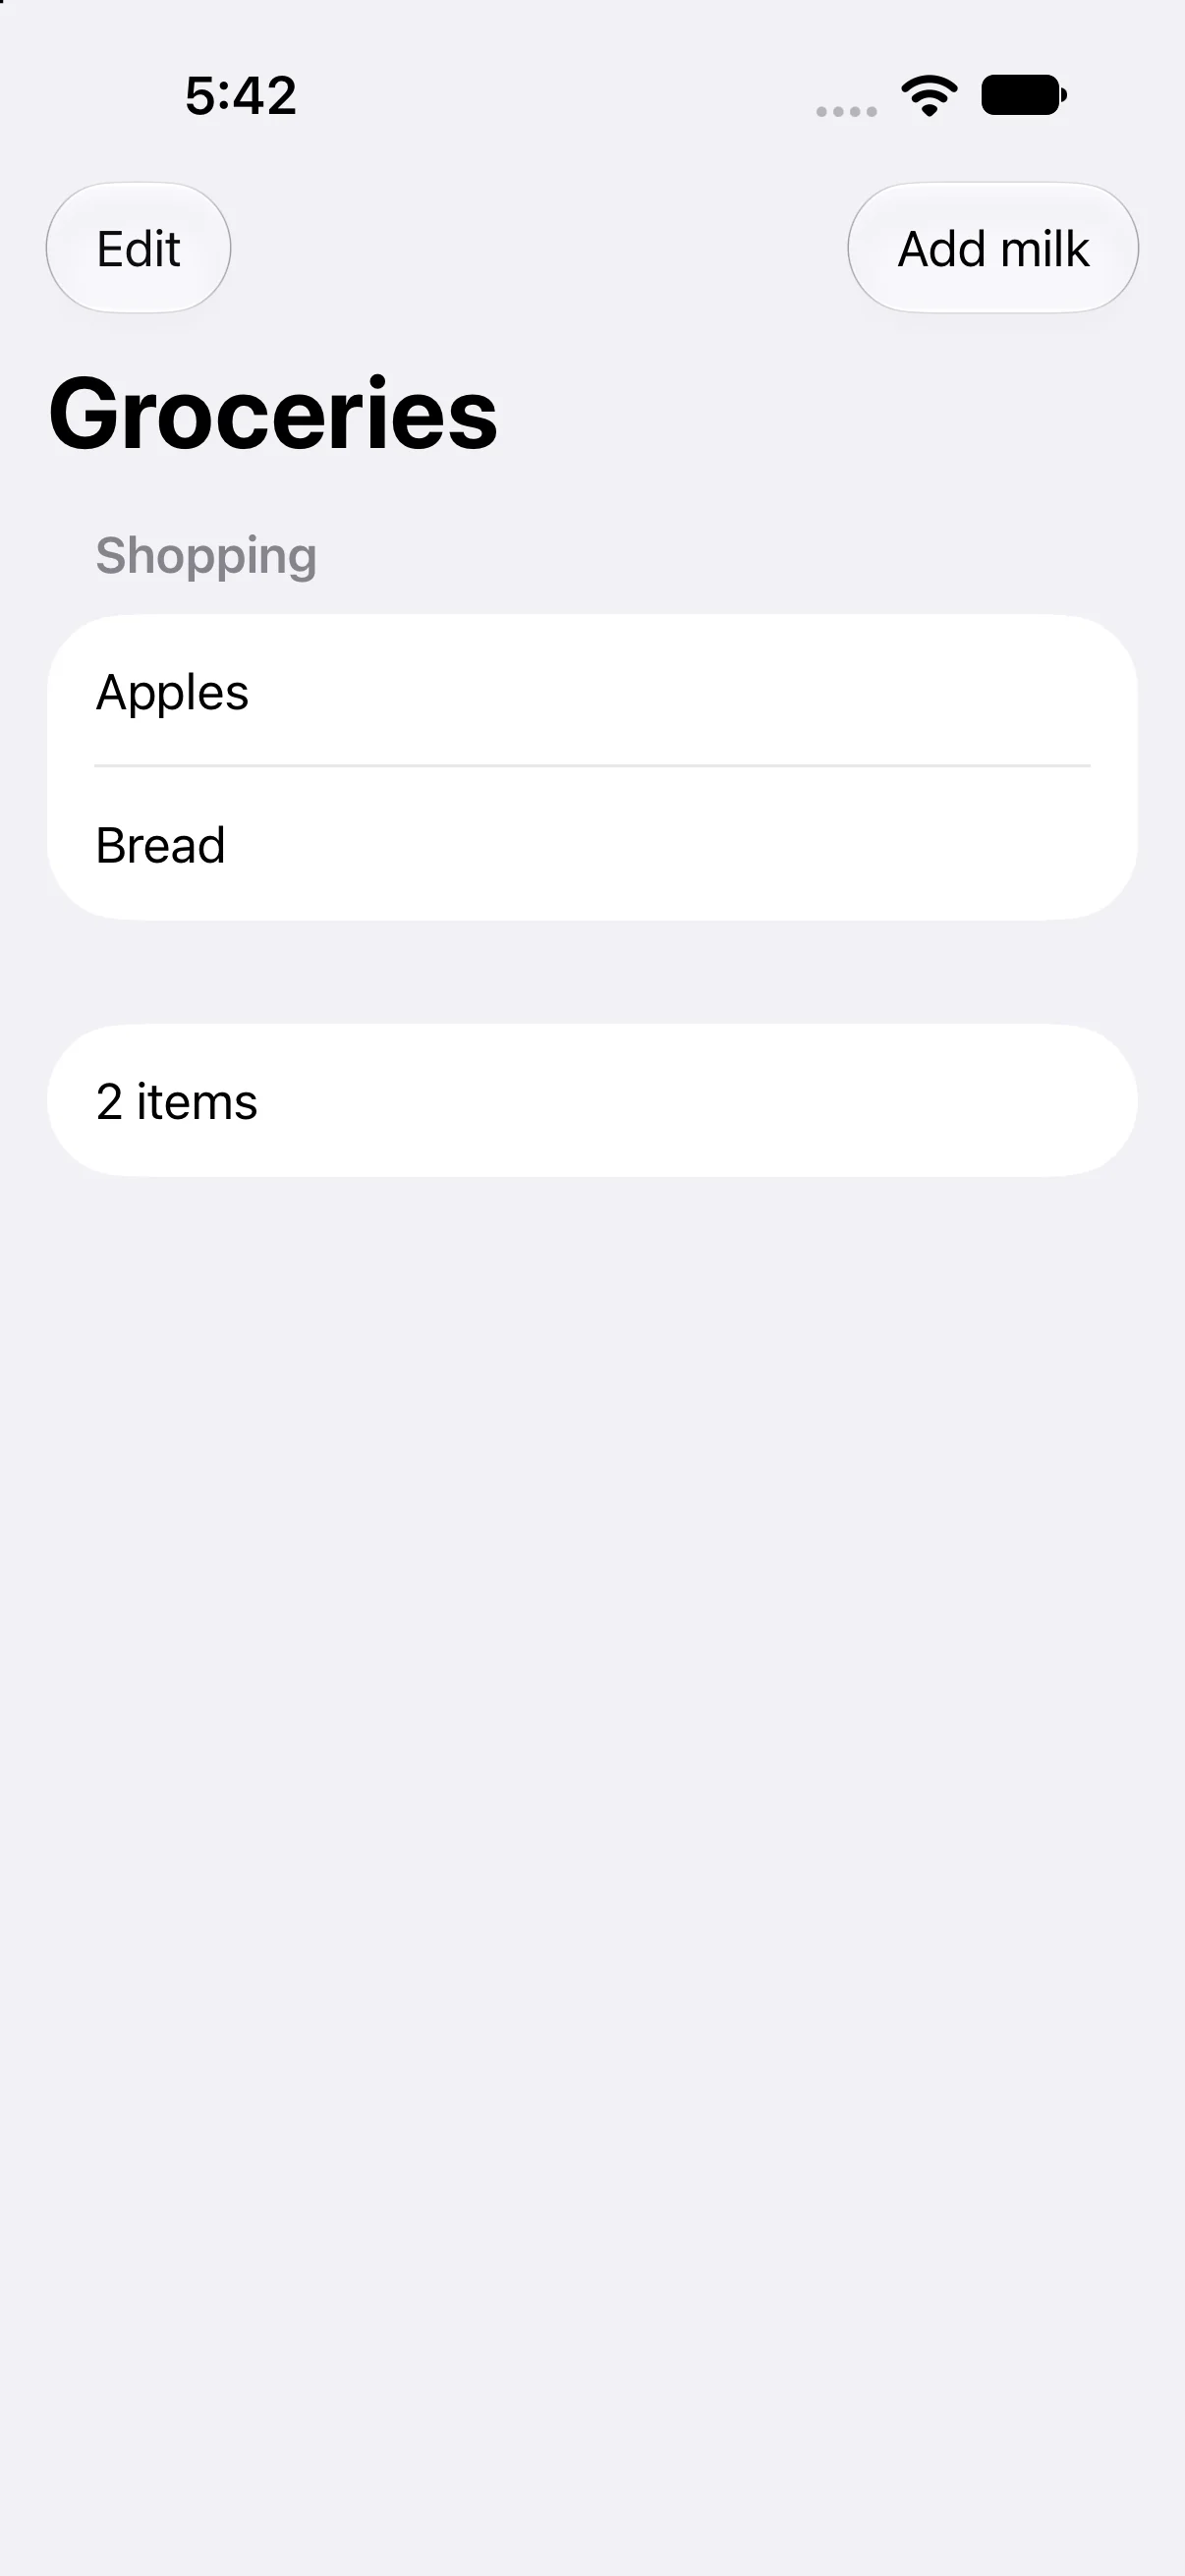
Use List for presentation and ForEach for identified rows
List supplies a platform-aware scrolling row container. ForEach describes a set of views generated from identified data; it is not itself a scroll view. Nesting ForEach inside a Section lets the sample add a separate count section while keeping the grocery rows editable.
List {
    Section("Shopping") {
        ForEach(items) { item in Text(item.name) }
            .onDelete { items.remove(atOffsets: $0) }
    }
    Section { Text("\(items.count) items") }
}
For a simple unsectioned display you can also construct List directly from a collection. Choose the form that expresses the required structure rather than wrapping every small array in an unnecessary stack inside the list.
Generate a new ID at insertion, not during rendering
The initial groceries have IDs 1 and 2. nextID begins at 3 and advances after insertion. Adding Milk twice creates two separate logical items with different IDs even though their names match.
items.append(Grocery(id: nextID, name: "Milk"))
nextID += 1
Using the name as identity would fail for duplicate grocery names. Computing a fresh UUID whenever id is read would also undermine stable identity. In production a model or persistence layer usually owns identifier creation; this in-memory integer sequence keeps the small example deterministic.
Apply deletion offsets to the displayed source
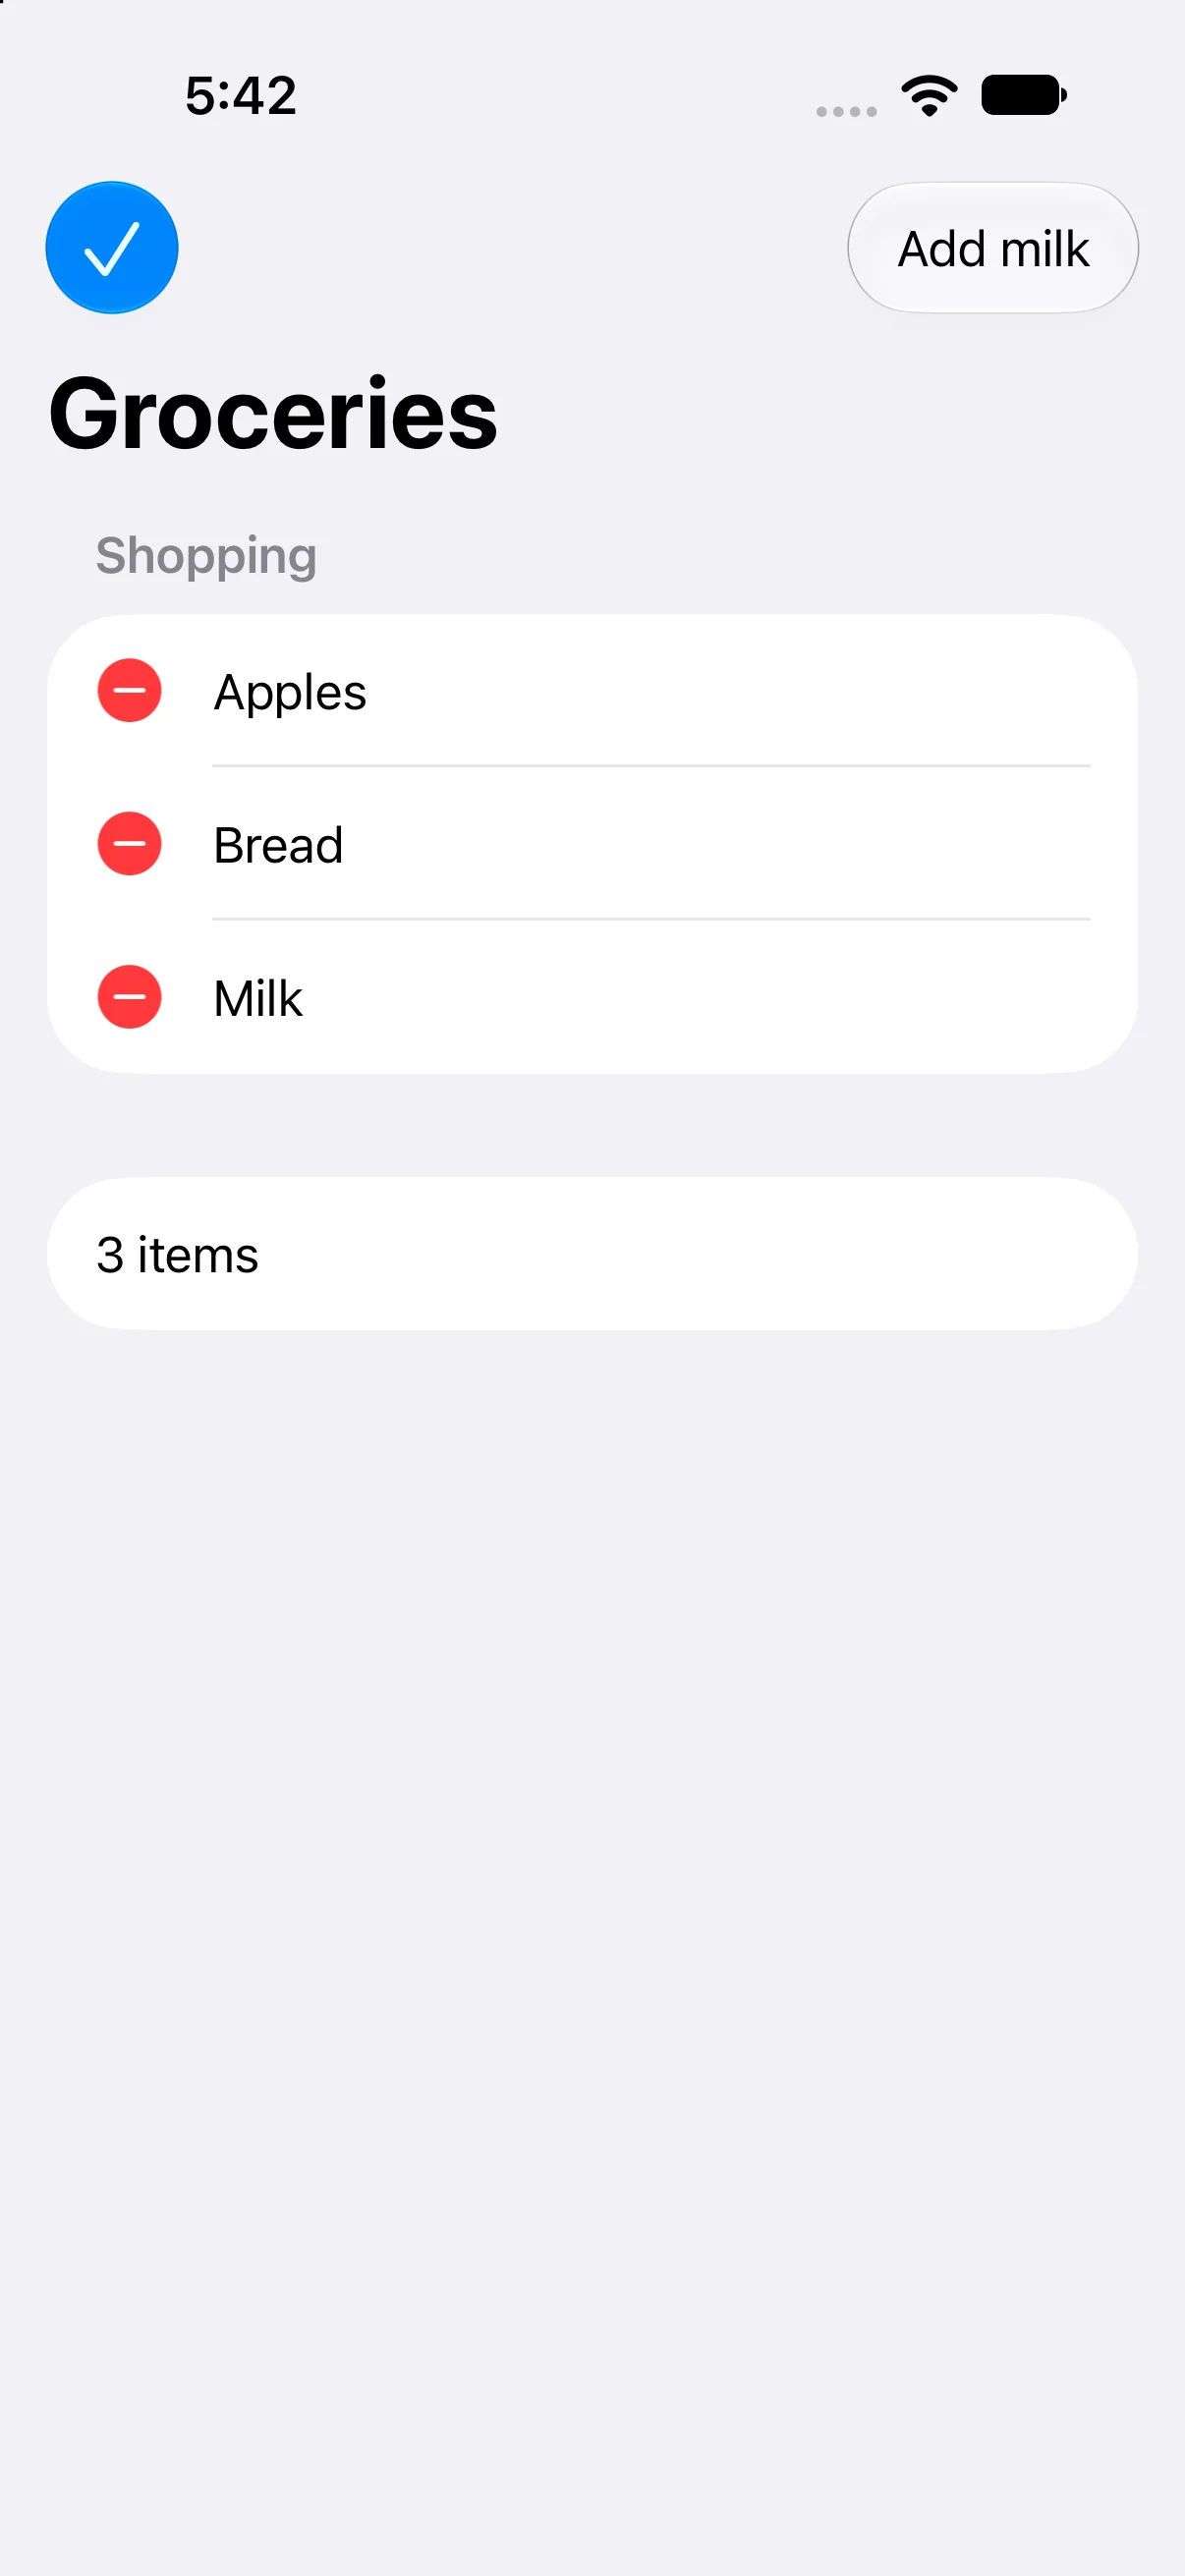
onDelete provides offsets for the relevant ForEach data. In this unfiltered example that data is items, so remove(atOffsets:) targets the same array. EditButton toggles the surrounding edit-mode environment and exposes the system editing UI.
Do not blindly apply offsets from a filtered or sorted result to a different original array. Resolve the selected logical IDs and remove those items from the source instead. The offset answers “where in this presented collection?”; the ID answers “which item?” Those questions happen to align in this baseline, but not in every list.
Keep empty and changing collections meaningful
The count derives from items.count, so it updates after insertion or deletion. A production empty list should explain its purpose and offer a useful action rather than looking broken. Later empty/loading/error lessons build those states explicitly.
List row appearance and edit controls vary by platform, OS and style. Preserve standard behavior before introducing custom row gestures. The automated captures below establish insertion and entry into edit mode; the supplied deletion handler is built, while deleting a row remains an explicit learner exercise rather than a claimed captured transition.
Build the complete example
Download the GroceryList Xcode project. Open GroceryList.xcodeproj, select an installed compatible iPhone simulator, and run. The app entry point already presents ContentView. The complete ContentView.swift below is the exact built source; earlier snippets are explanatory excerpts.
import SwiftUI

struct ContentView: View {
@State private var items = [Grocery(id: 1, name: "Apples"), Grocery(id: 2, name: "Bread")]
@State private var nextID = 3
 var body: some View {
NavigationStack {
 List {
  Section("Shopping") {
   ForEach(items) { item in Text(item.name) }
    .onDelete { items.remove(atOffsets: $0) }
  }
  Section { Text("\(items.count) items") }
 }.navigationTitle("Groceries")
 .toolbar {
  ToolbarItem(placement: .topBarLeading) { EditButton() }
  ToolbarItem(placement: .topBarTrailing) {
   Button("Add milk") { items.append(Grocery(id: nextID, name: "Milk")); nextID += 1 }
    .accessibilityIdentifier("addMilk")
  }
 }
}
 }
}

struct Grocery: Identifiable { let id: Int; let name: String }

#Preview { ContentView() }
Accessibility identifiers in the file provide stable names for local automation; they are not visible menu labels. #Preview is an editor convenience. The following screenshots come from the launched app after actual automated control interactions.
Insert a row with a new stable ID
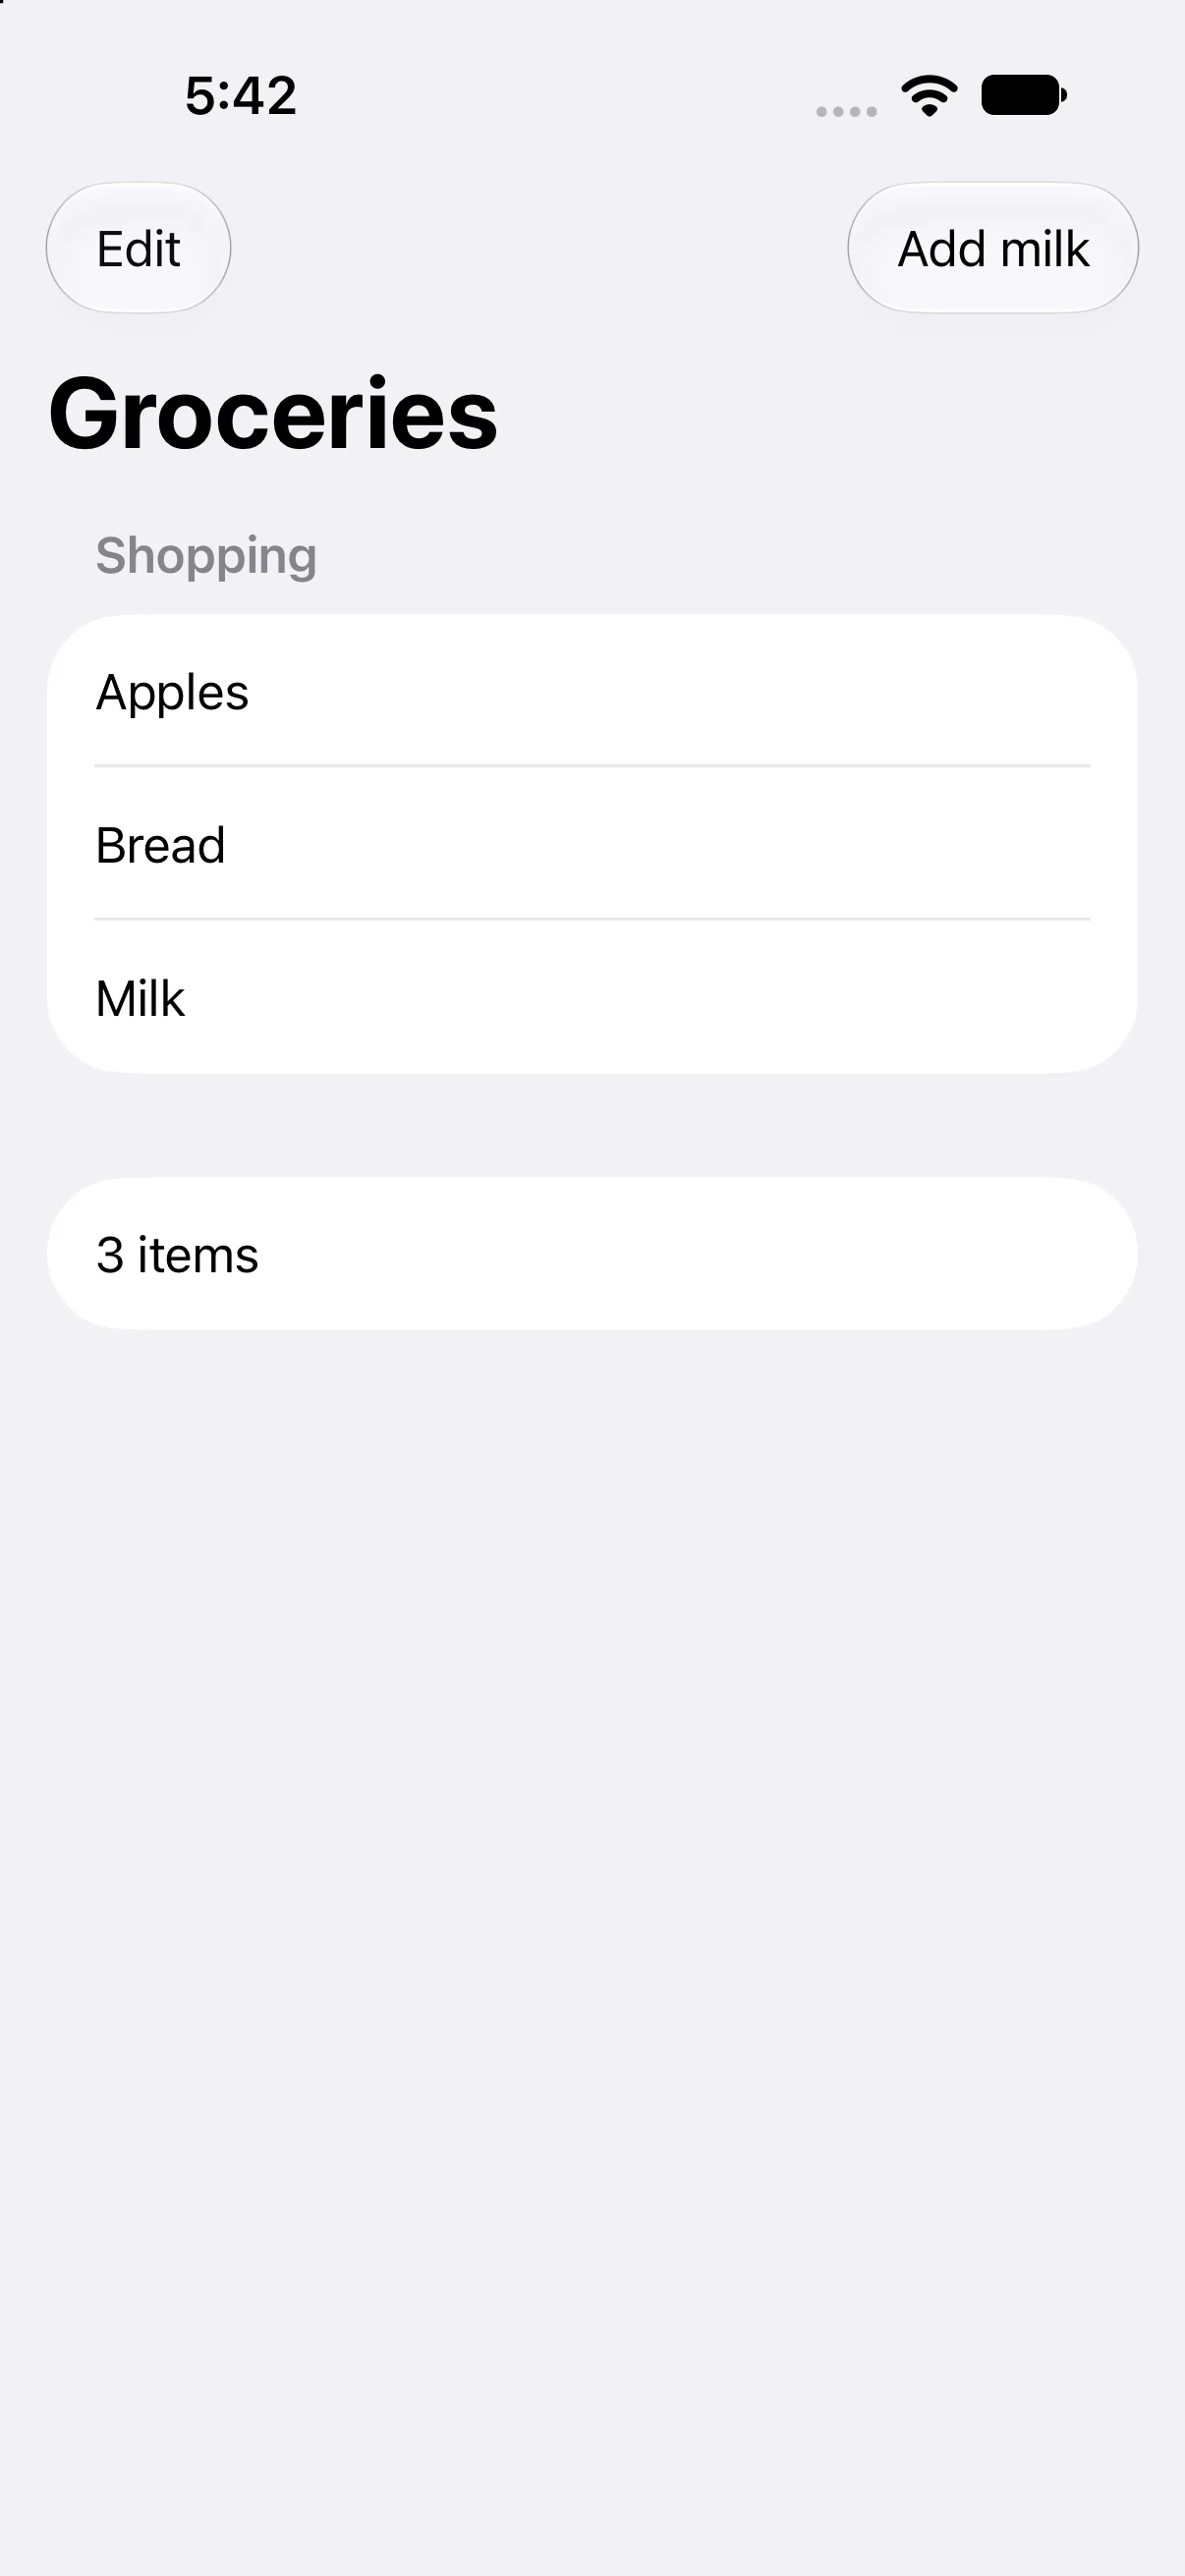
Press Add milk. The list gains Milk and the derived count becomes 3 items. The existing Apples and Bread remain present; their IDs did not need to change when another item was appended.
Expose the system deletion controls
Press Edit. The control becomes Done and system row editing controls appear. This capture shows edit mode, not a completed deletion. On the running project, use the row’s delete control and confirm that the count follows the source mutation.
Check a failure at the right boundary
If your output differs, compare the current input values and the relevant action before changing project settings. Save the complete source, confirm the selected scheme and destination, and inspect the first build diagnostic if compilation fails. A successful build establishes valid source; the action-result checks establish the particular UI transitions shown here.
Practice variations below are proposed changes, not additional captured states. Keep input validation, state ownership and presentation decisions explicit as you extend the project.
Try a new case and explain the result
Add Milk twice, then delete one Milk row. Explain why two identical names can still behave as distinct rows.
Worked answer
The insertions receive different IDs. Deleting one presented row removes that element, while the other remains. The count drops by one. If you later introduce filtering, change deletion to operate on the matching IDs rather than reusing unrelated source offsets.
Check your understanding
Choose the explanation that follows from the worked example.
What to take forward
You separated row generation, presentation and source mutation, and verified insertion and edit mode. Next, connect an identified row to a detail destination.
Reaching the recap and completing the quizzes are separate milestones.