The pgAdmin Add Server feature allows users to connect to and manage PostgreSQL servers. This feature is essential for database administrators to interact with their PostgreSQL instances through the pgAdmin interface.
To add a new server in pgAdmin, follow these steps:
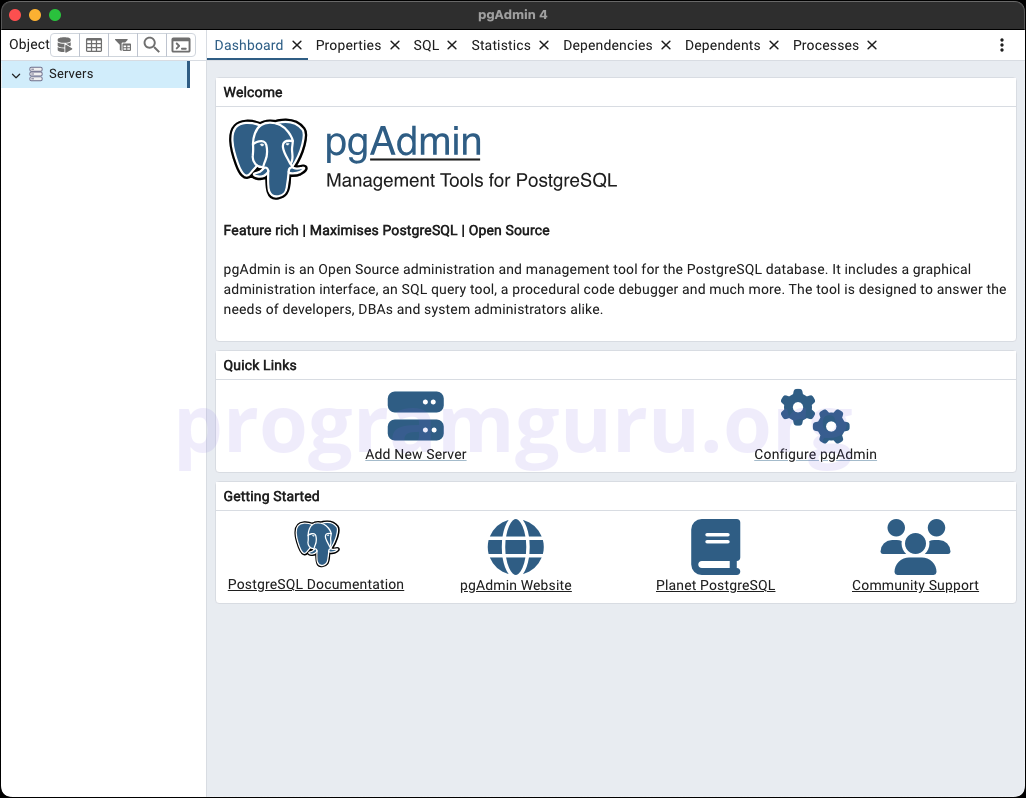
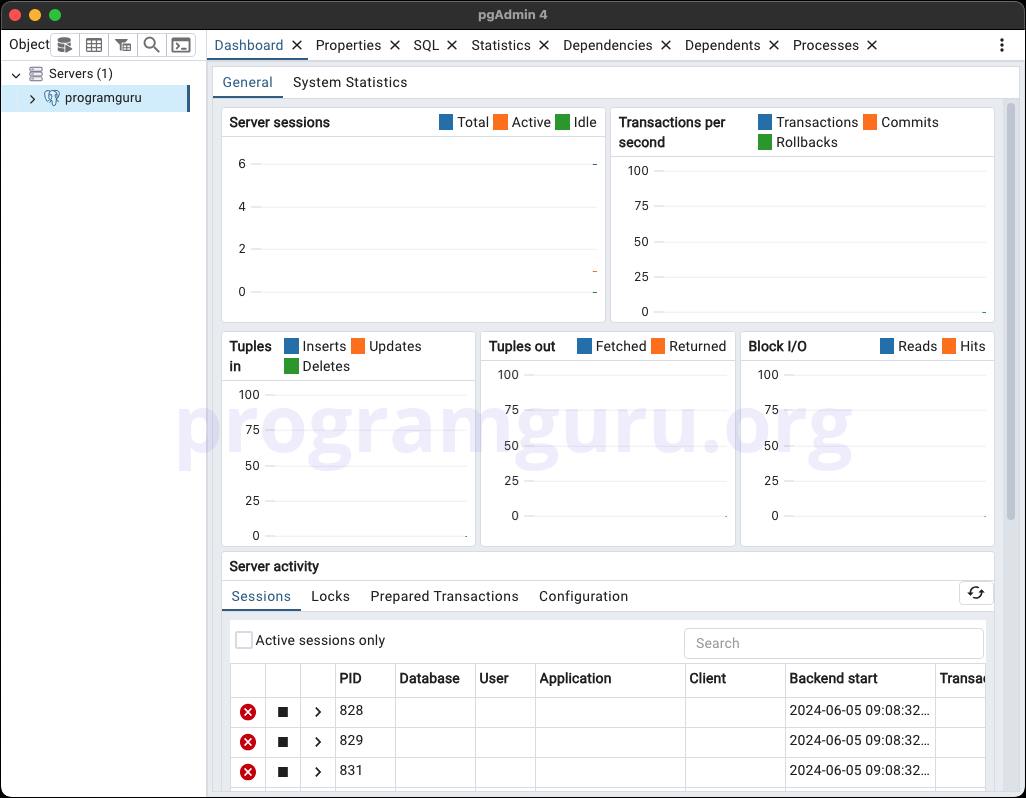
Launch pgAdmin and navigate to the dashboard. You will see the Servers section on the left panel.
If you are opening pgAdmin for the first time, then you would see 'Add New Server' in the Welcome page.
Right-click on the Servers node in the left panel and select Create, then click on Server... from the context menu.
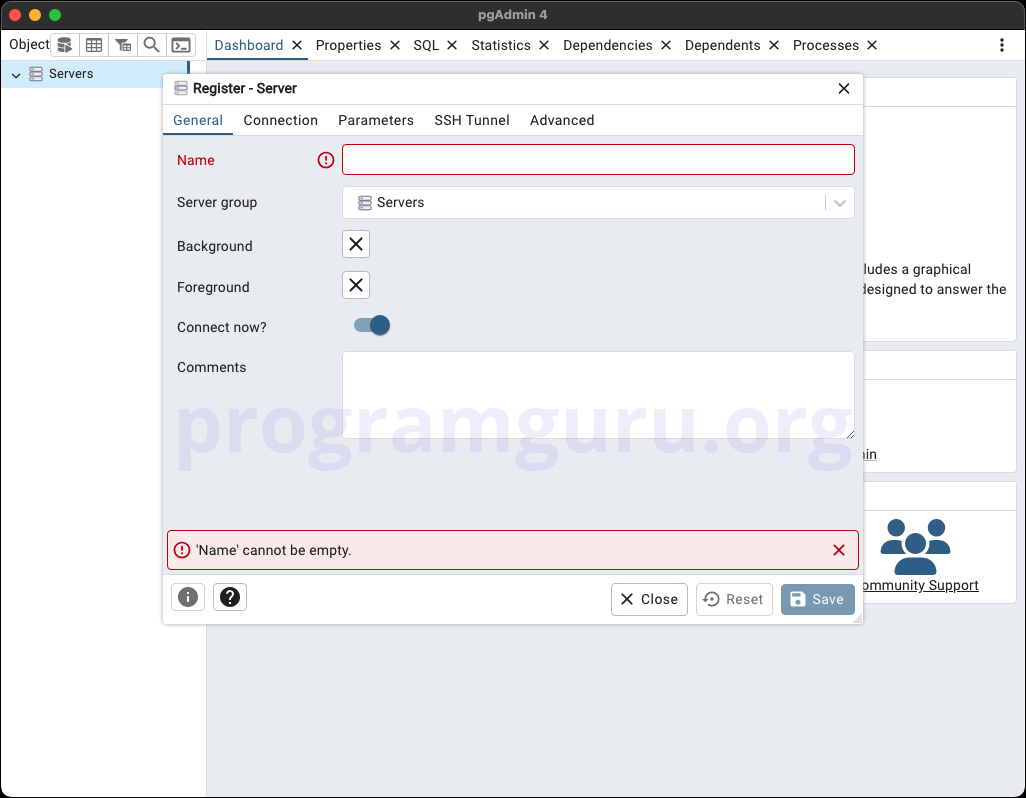
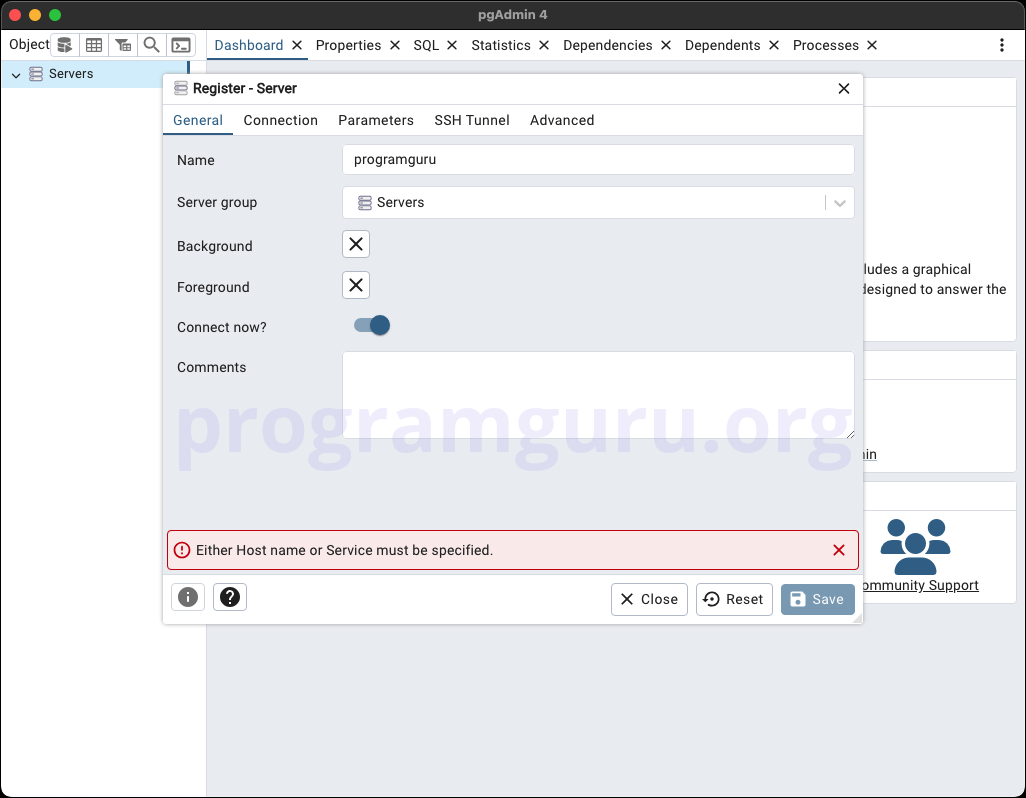
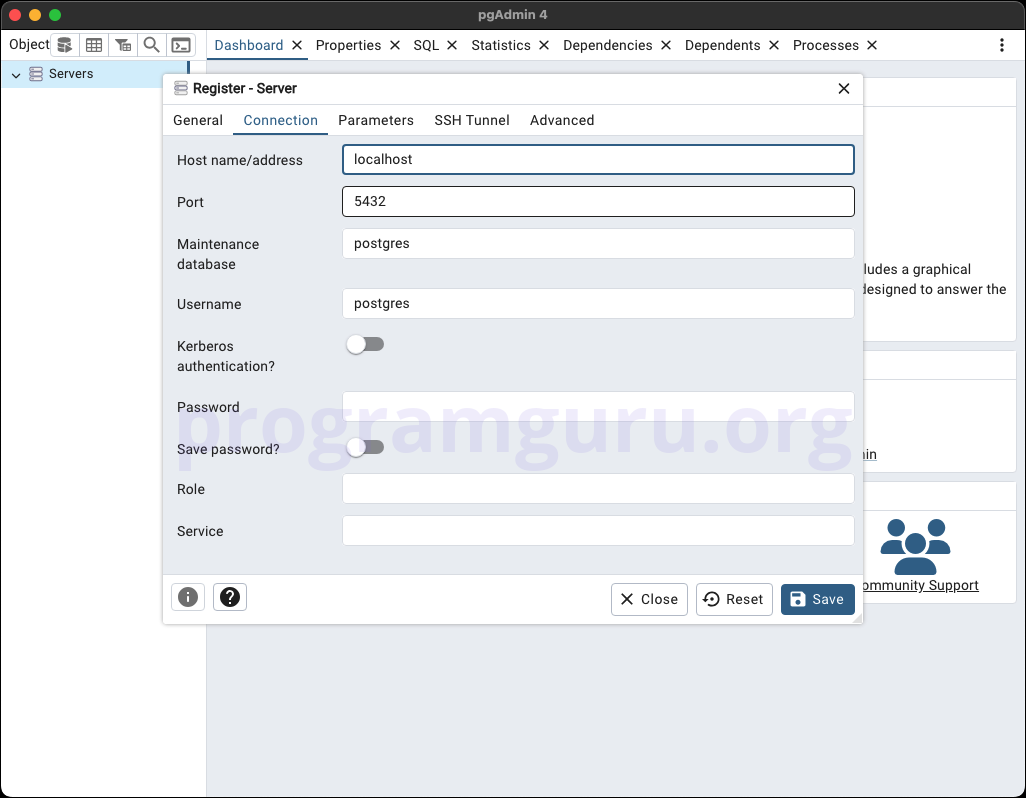
In the Create - Server dialog, you will need to provide the following details:
postgres).Once all required fields are filled, click Save to create the server connection.
After saving, the new server should appear under the Servers node in the left panel. Click on it to expand and view the databases and other objects within the server.
Adding a server in pgAdmin is a straightforward process that involves specifying connection details to establish a link with your PostgreSQL server. This feature is crucial for managing and interacting with PostgreSQL databases efficiently through the pgAdmin interface.