
HTML Development Environment Setup
Setting Up Your HTML Development Environment
If you're just starting out with web development, the best part is: getting set up for HTML is incredibly simple. You don’t need any fancy software or expensive tools — just a browser and a code editor.
Step 1: Choose a Code Editor
You can write HTML using any text editor. But for a smoother experience, choose a code editor that helps you write cleaner, faster, and more organized code.
Popular Editors:
- Visual Studio Code (VS Code): Lightweight, free, and packed with extensions.
- Sublime Text: Fast and elegant.
- Notepad++: Simple and lightweight.
For this tutorial, we'll use Visual Studio Code (VS Code).
Step 2: Create a Project Folder
Let’s keep things organized from the start. Create a folder on your desktop and name it something like my-first-html. This is where you’ll save all your HTML files.
Step 3: Create Your First HTML File
Open VS Code. Click File → New File, and save it as index.html inside your project folder.
Now, type the following HTML code into the file:
<!DOCTYPE html>
<html>
  <head>
    <title>My First HTML Page</title>
  </head>
  <body>
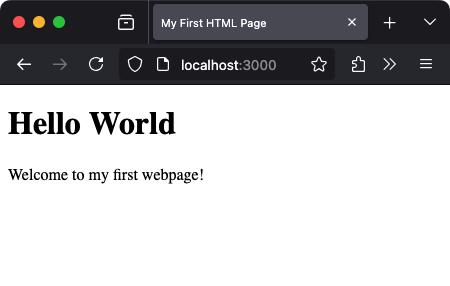
    <h1>Hello World</h1>
    <p>Welcome to my first webpage!</p>
  </body>
</html>
This page includes a simple heading and a paragraph. It's your first interaction with how browsers read HTML — simple yet magical.
Step 4: View Your HTML Page in a Browser
Once your file is saved, right-click on index.html and select Open with → Google Chrome (or any browser you like).
Step 5: Make Some Changes
Let’s edit the file to explore HTML further. Replace the previous content with this:
<!DOCTYPE html>
<html>
  <head>
    <title>Fruit List</title>
  </head>
  <body>
    <h1>Fruits I Like</h1>
    <ul>
      <li>Apple</li>
      <li>Banana</li>
      <li>Cherry</li>
    </ul>
  </body>
</html>
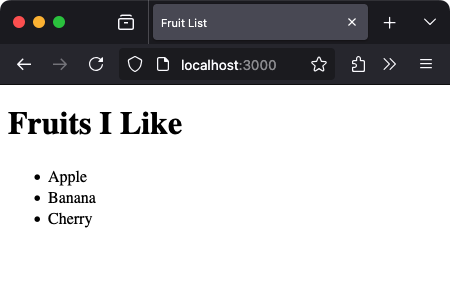
You just created a list using HTML. It’s intuitive, readable, and beginner-friendly. This is how HTML lets you build structured content — one element at a time.
What Did You Learn?
Let’s break down what you’ve achieved:
- Installed and launched a code editor (VS Code)
- Created a project folder and saved your first HTML file
- Wrote your first webpage using proper structure and tags
- Opened the file in a browser and saw live results
Tips for a Smoother Start
- Always use
.htmlas the file extension so your browser recognizes the file type. - Use indentation to keep your code readable.
- Don’t worry about making mistakes — HTML is very forgiving. Try, reload, and learn.
Check your understanding 1
Check your understanding 2
Check your understanding 3
Choose the option that lists all and only the correct statements.
- Text Editor
- Web Browser
- Database System
- Live Server Extension (Optional)
Check your understanding 4
Check your understanding 5
Check your understanding 6
Choose the option that lists all and only the correct statements.
- .html
- .htm
- .webpage
- Using Save As > All Files with .html extension in Notepad
Next Steps
Now that your environment is ready, the real fun begins. You’ll start exploring links, images, tables, forms, and layout designs. It all starts here — with this simple yet powerful setup.
The web is built with HTML. And now, you know how to build the web.
Reaching the recap and completing the quizzes are separate milestones.