
HTML Forms
HTML Forms: Capturing User Input
Forms are how websites listen. Whether you're signing up, searching, or submitting a comment — it all starts with an HTML form. Let’s explore how to build one, piece by piece.
The <form> Tag: Wrapping It All Together
The <form> element defines the start of a form. It typically includes input fields, labels, buttons, and optionally an action (where to send data) and method (how to send it).
<form action="/submit" method="post">
  <!-- form content here -->
</form>
For now, we’ll focus on structure and elements rather than sending data to a server.
Input Types: Collecting Values
The <input> tag is used for various types of fields. Let’s look at a few common ones.
Text Input
<form>
  <label for="fruit">Favorite Fruit:</label>
  <input type="text" id="fruit" name="fruit">
</form>
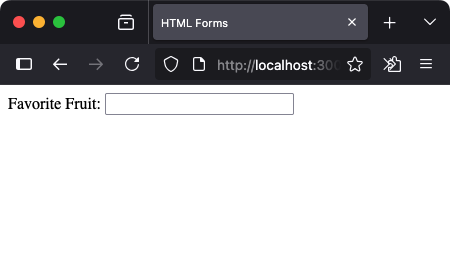
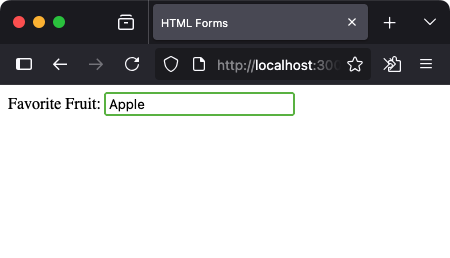
for in <label> should match the id of the input for accessibility.
Labels and Placeholders
Labels help users understand what each field is for. Placeholders provide hints inside the input field.
<label for="email">Email:</label>
<input type="email" id="email" name="email" placeholder="hello@example.com">
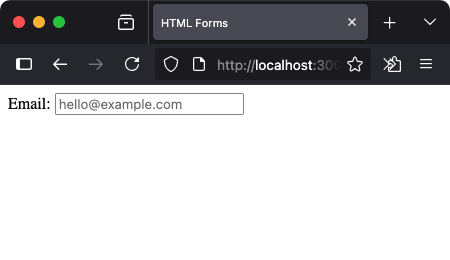
Use placeholders as a gentle nudge, not a replacement for labels.
Select Dropdowns
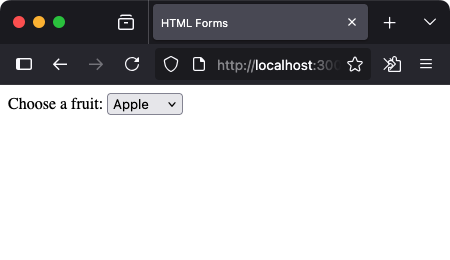
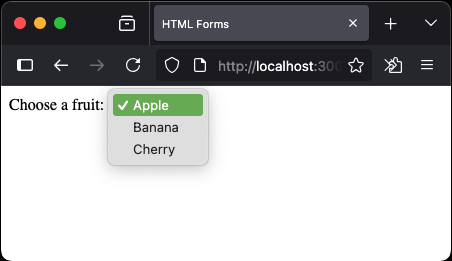
<select> allows users to choose from a list of options.
<label for="fruit-select">Choose a fruit:</label>
<select id="fruit-select" name="fruit">
  <option value="apple">Apple</option>
  <option value="banana">Banana</option>
  <option value="cherry">Cherry</option>
</select>
Checkboxes: Choose Multiple Options
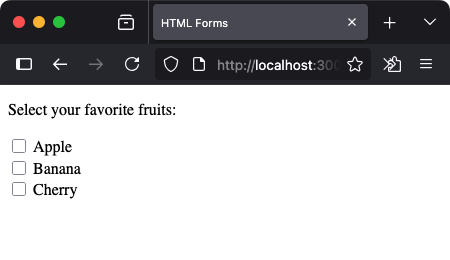
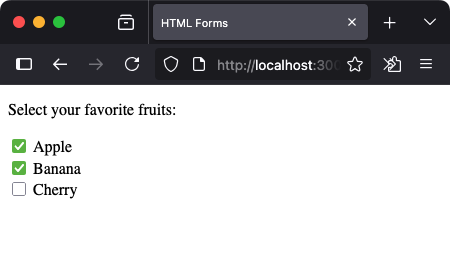
Checkboxes are used when the user can select more than one item.
<p>Select your favorite fruits:</p>
<input type="checkbox" id="apple" name="fruits" value="apple">
<label for="apple">Apple</label>
<br>
<input type="checkbox" id="banana" name="fruits" value="banana">
<label for="banana">Banana</label>
<br>
<input type="checkbox" id="cherry" name="fruits" value="cherry">
<label for="cherry">Cherry</label>
Radio Buttons: Select Only One
Radio buttons allow one selection from a set of options.
<p>Select one fruit:</p>
<input type="radio" id="apple-radio" name="single-fruit" value="apple">
<label for="apple-radio">Apple</label>
<br>
<input type="radio" id="banana-radio" name="single-fruit" value="banana">
<label for="banana-radio">Banana</label>
<br>
<input type="radio" id="cherry-radio" name="single-fruit" value="cherry">
<label for="cherry-radio">Cherry</label>
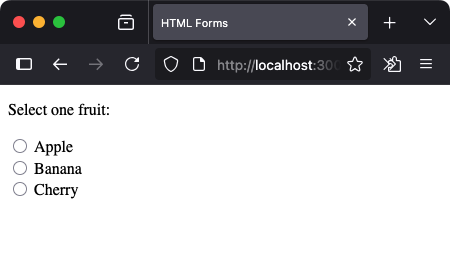
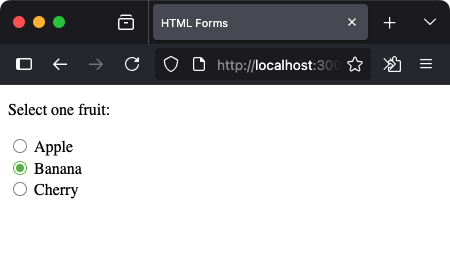
All buttons must share the same name to work as a group.
Textareas: Multiline Input
Use <textarea> when the user needs space to write more — comments, feedback, descriptions.
<label for="message">Your Message:</label><br>
<textarea id="message" name="message" rows="4" cols="30"></textarea>
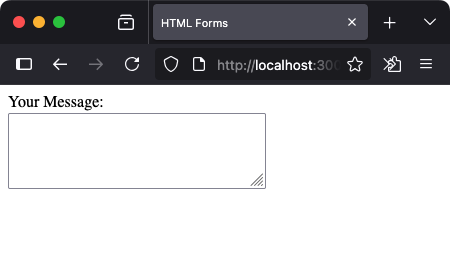
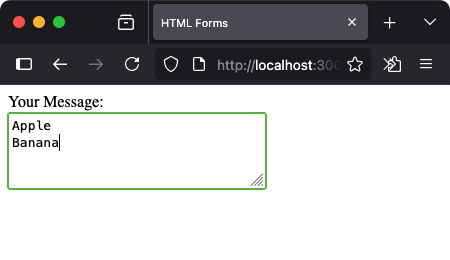
You can control height with rows and width with cols.
Submit and Reset Buttons
<input type="submit"> sends the form data. <input type="reset"> clears the fields.
<form>
  <input type="submit" value="Submit Form">
  <input type="reset" value="Clear All">
</form>
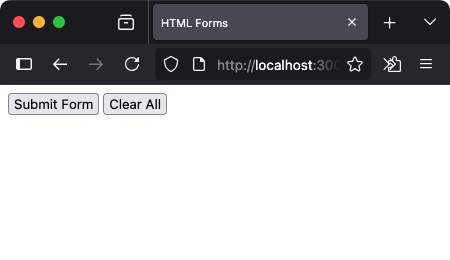
Use these to control the form lifecycle — input, validate, and submit or reset.
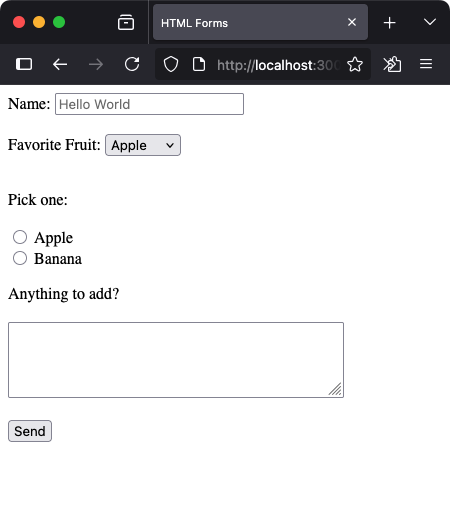
Complete Example: Simple Fruit Survey
<form action="/submit" method="post">
  <label for="name">Name:</label>
  <input type="text" id="name" name="name" placeholder="Hello World"><br><br>

  <label for="fruit">Favorite Fruit:</label>
  <select id="fruit" name="fruit">
    <option>Apple</option>
    <option>Banana</option>
    <option>Cherry</option>
  </select><br><br>

  <p>Pick one:</p>
  <input type="radio" id="r1" name="vote" value="apple">
  <label for="r1">Apple</label><br>
  <input type="radio" id="r2" name="vote" value="banana">
  <label for="r2">Banana</label><br>

  <p>Anything to add?</p>
  <textarea name="comment" rows="4" cols="40"></textarea><br><br>

  <input type="submit" value="Send">
</form>
Summary
You’ve just opened the gateway to user interaction. HTML forms allow your website to listen and respond. Today you learned to:
- Use the
<form>tag for wrapping inputs - Work with input types like text, email, radio, and checkbox
- Use
<select>for dropdowns and<textarea>for multi-line input - Add labels and placeholders for clarity
- Submit and reset user inputs
Check your understanding 1
Check your understanding 2
Check your understanding 3
Choose the option that lists all and only the correct statements.
textemailpassworddropdown
Check your understanding 4
Check your understanding 5
Check your understanding 6
Choose the option that lists all and only the correct statements.
<input type="checkbox"><select><option></option></select><textarea></textarea><reset></reset>
What’s Next?
Next, we’ll take your forms to the next level with HTML Form Validation — ensuring data is correct before it’s sent.
Reaching the recap and completing the quizzes are separate milestones.